Going Full Watchmaker with the DIY Watch Club Bluing & Luming Kits
This is hands-down one of the most immersive do-it-yourself watchmaking experiences available.
To many, watches are all about creating memories and lasting experiences. I still vividly remember where, when and how I bought one of my most precious watches, the Tudor Black Bay 79220N. It’s that connection that keeps me from ever selling it. But what if you wanted something more than just a ready-made product? What if you wanted some hands-on experience building a watch? Well, DIY Watch Club and its do-it-yourself watchmaking kits are just the thing for you. And along with its watch-building kits, the company also offers kits to heat-blue watch hands and even mix and apply lume to the hands and dial!
About a year and a half ago, I detailed my personal build experience of a DIY Watch Club GMT Diver. Buying such a kit gets you everything you need, from the assembly tools to all the components and detailed instructions. With it, you are guided step by step to check the movement, install the hands, fit it inside the case, close it, and put a strap on it. Sounds straightforward enough, but it takes a bit of patience and a ton of focus! And to make it even more challenging, you can now buy a DIY bluing and/or luming kit as well, which is exactly what we opted for in our second-ever DIY Watch Club build!

Heat-bluing hands
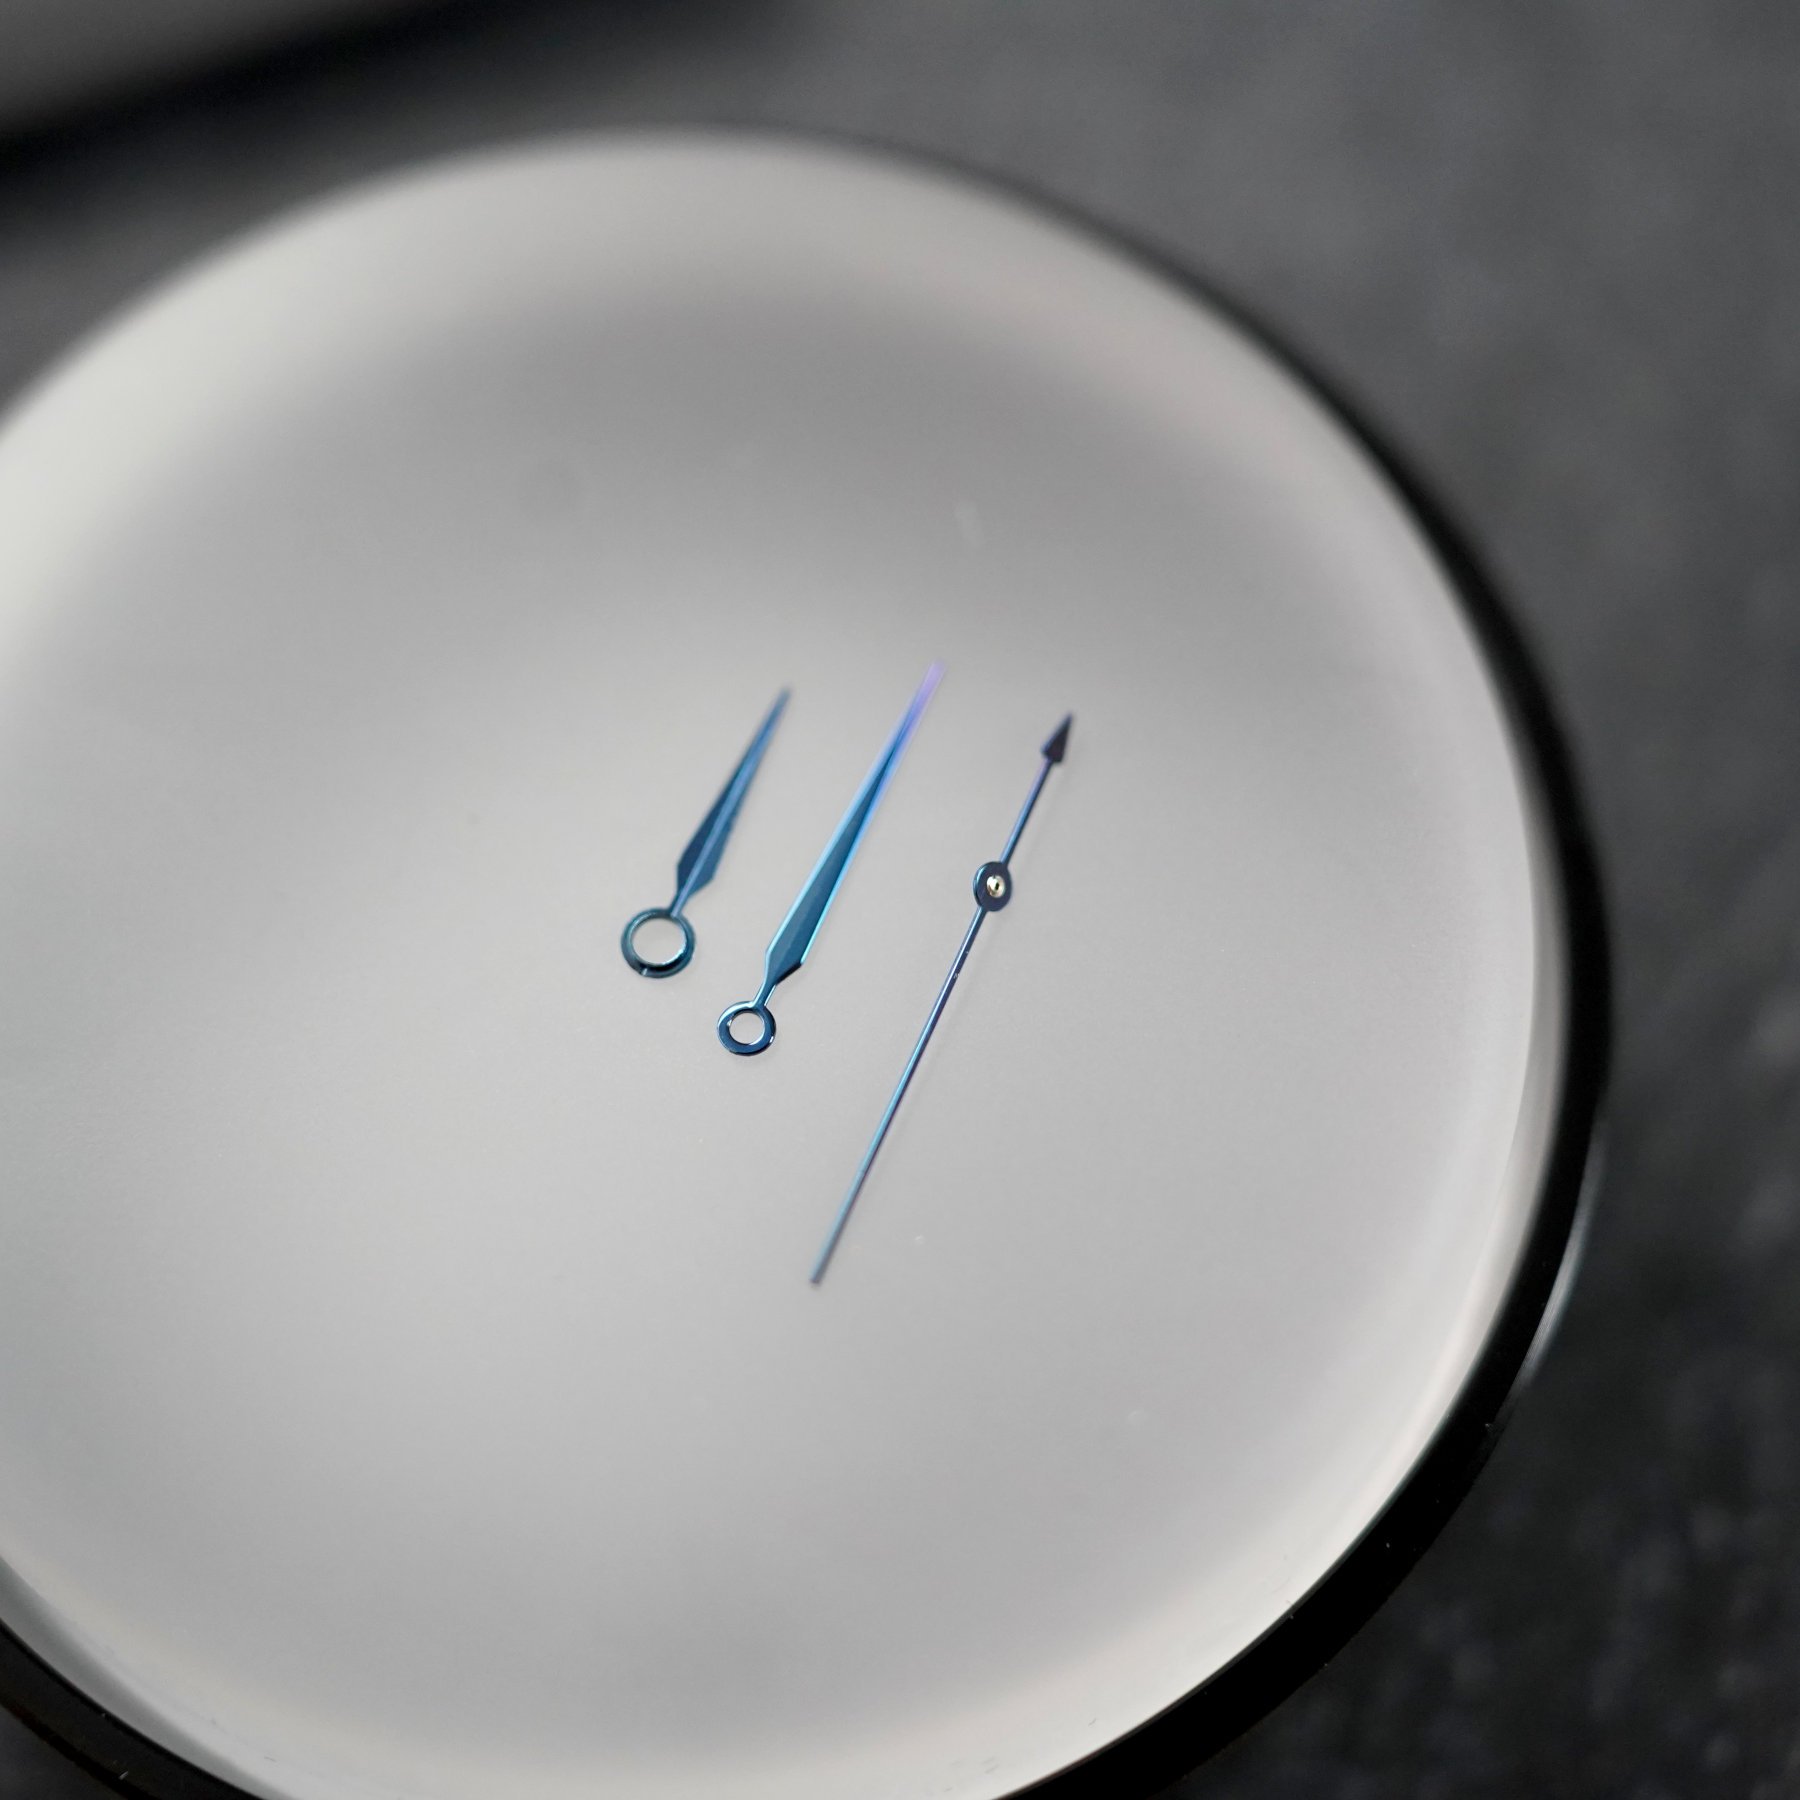
The technique of blueing hands is nothing new and is quite honestly a simple process on paper. It originates from a time when metals weren’t as pure and advanced as they are today. This means that they could either oxidate or become brittle in the watchmaking process, which is something you obviously don’t want. To combat this, watchmakers resorted to thermally hardening and colouring things such as hands and screws. Putting parts through a heat cycle hardens them so they don’t warp and gives them an ultra-thin layer of controlled oxidation to protect the material over time. The most common colour is blue, but there’s a whole spectrum you can go through. Moritz Grossmann, for instance, often opts for a violet-brown hue.

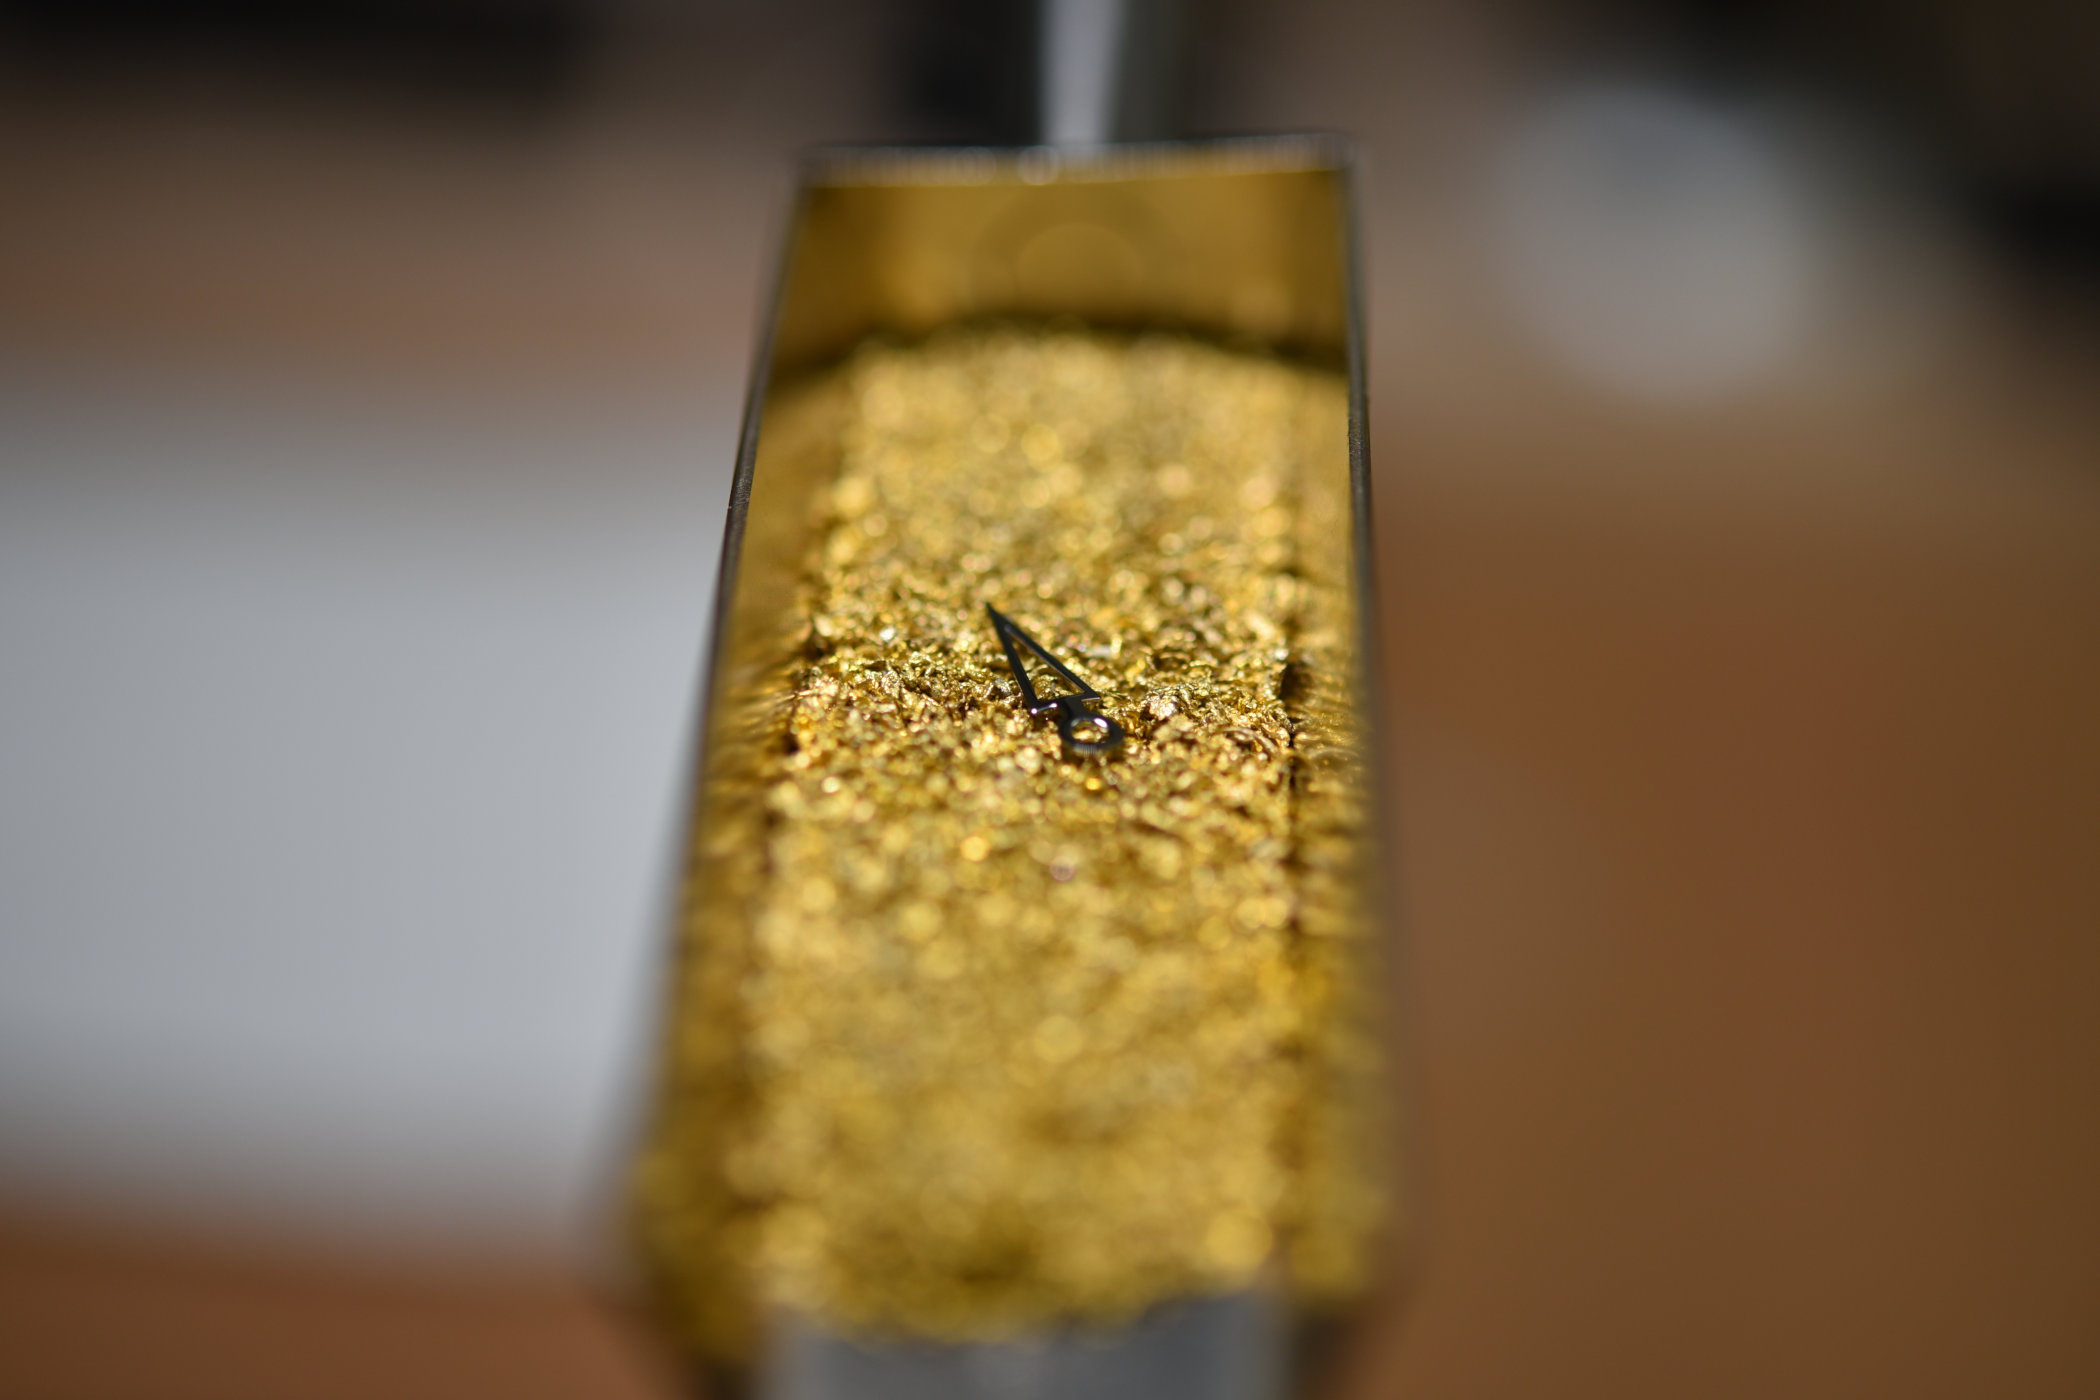
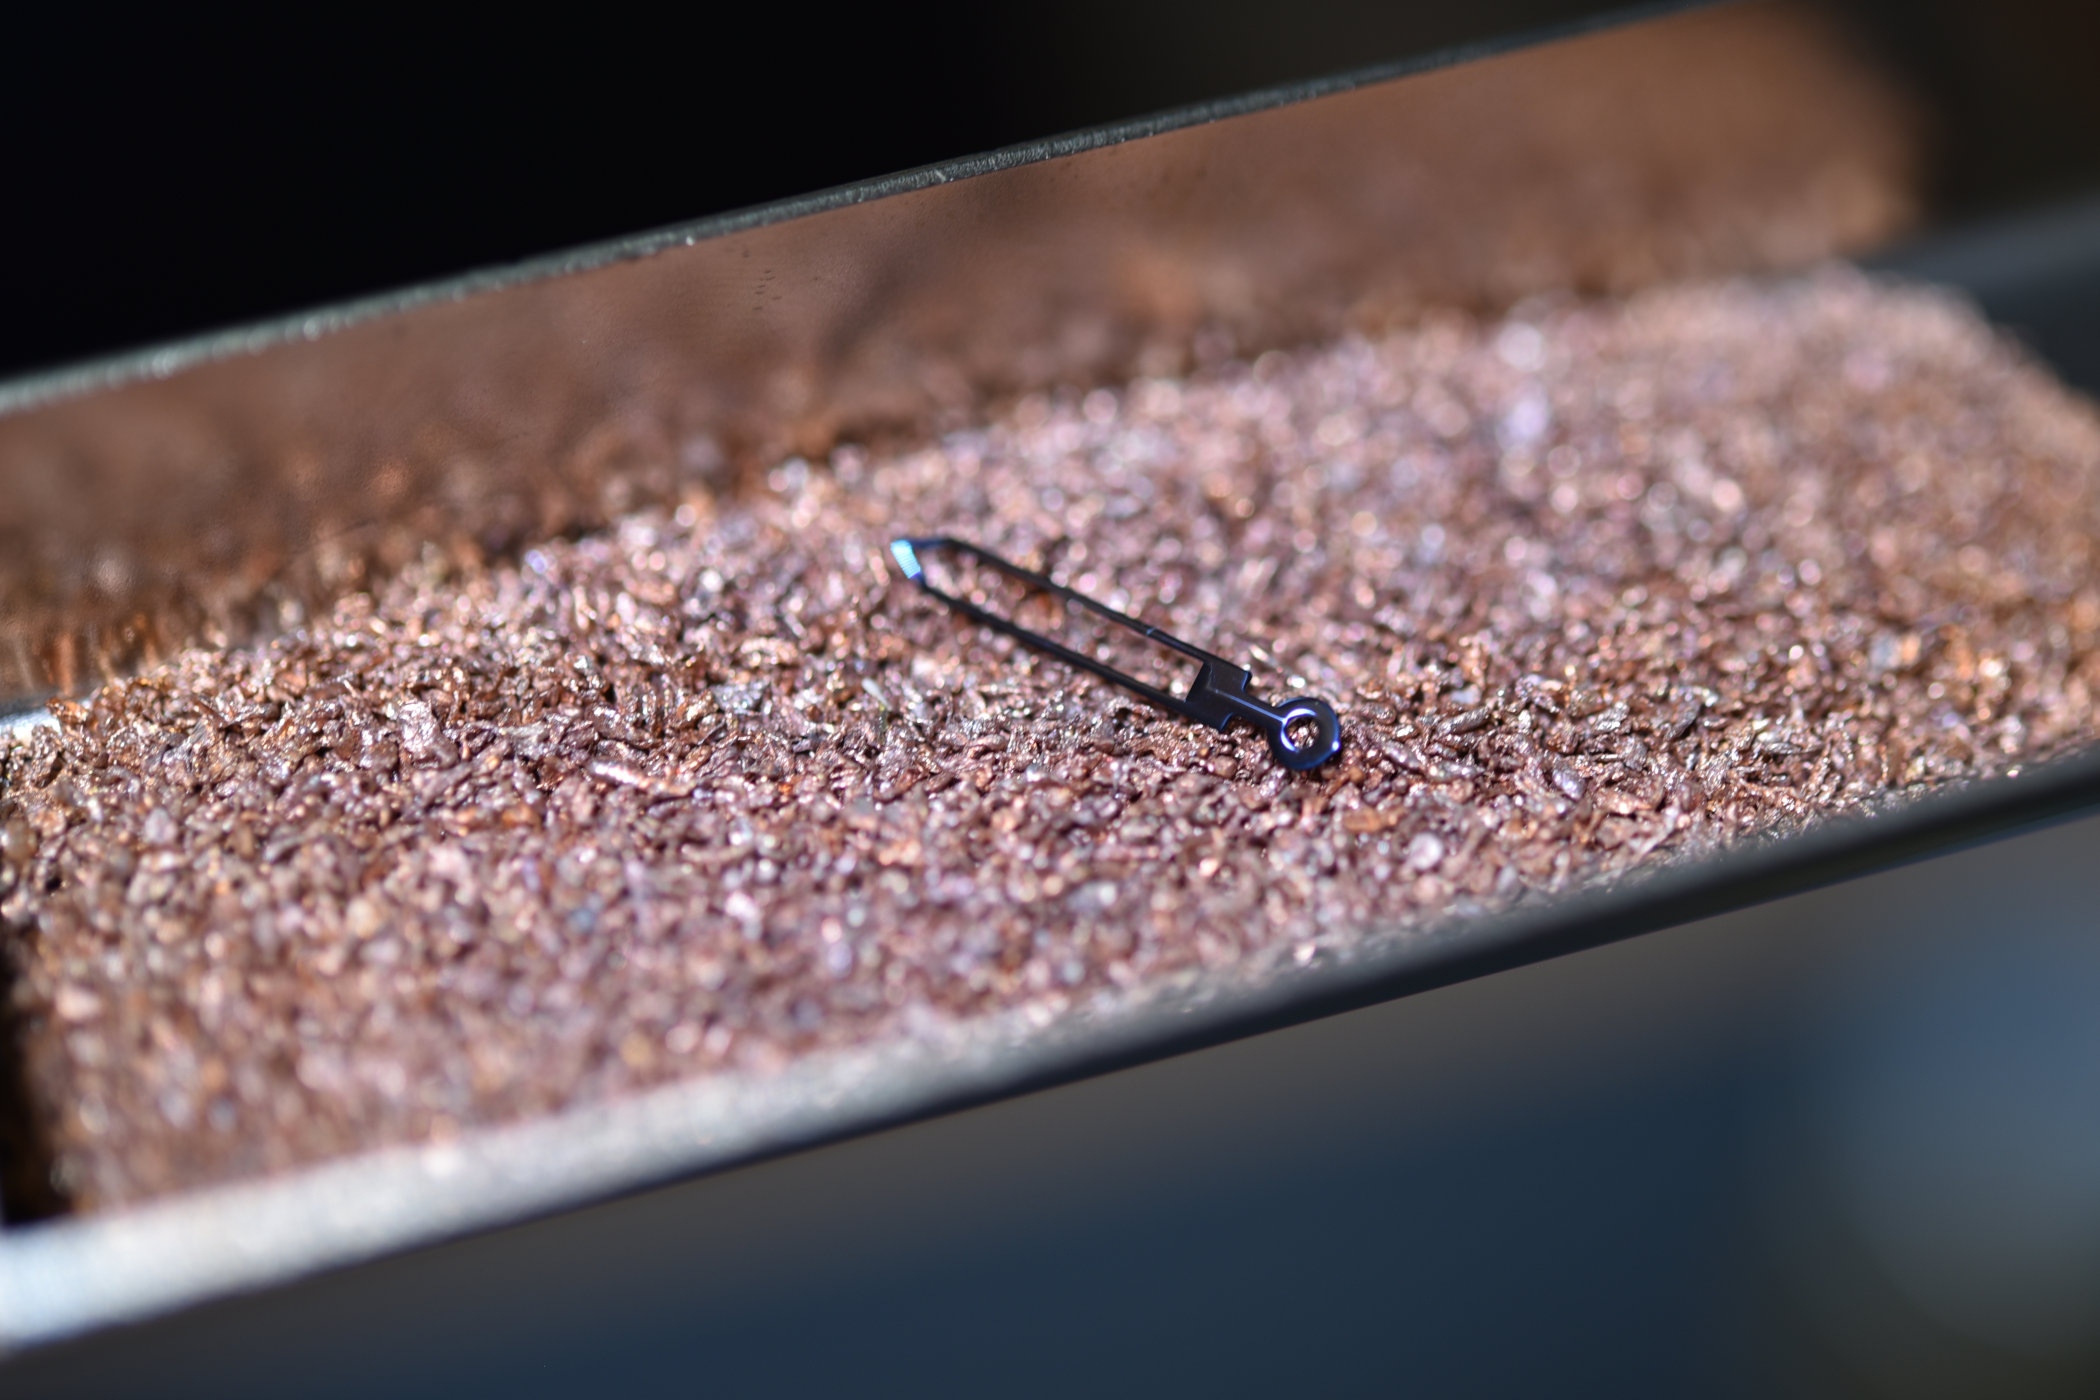
The bluing kit supplied by DIY Watch Club comes with a heat-resistant plate to work on, a clamp with a flexible arm, a small container, a torch, brass shavings, a glass container and a few other tools needed in the process. The instructions describe in detail what happens when you heat steel over a flame and carefully explain the steps to achieve the desired result. So, off I went in my first attempt to blue a set of hands!
The first thing you should know is that this takes time. A lot of time. Setting up is the first thing and should be done with care as you are working with an open flame. Then comes the delicate process of bluing the actual hands. Luckily, DIY Watch Club provides more than one set, so you can screw up once or twice. The brass shavings help disperse the heat evenly, and the glass container has distilled water for quenching the hands. My first set was far from even in terms of colour, as that’s the trickiest thing to get right: an even tone of blue from end to end on all three hands.
However, I was quite happy with my second set of hands and those are the ones that ended up in my final watch. Just to be on the safe side, I also blued a third set if the application of the luminous material that was next didn’t go according to plan. So knowing the hard part was done, I moved on to the even more challenging process: mixing and applying lume!
A ‘breaking bad’ experience
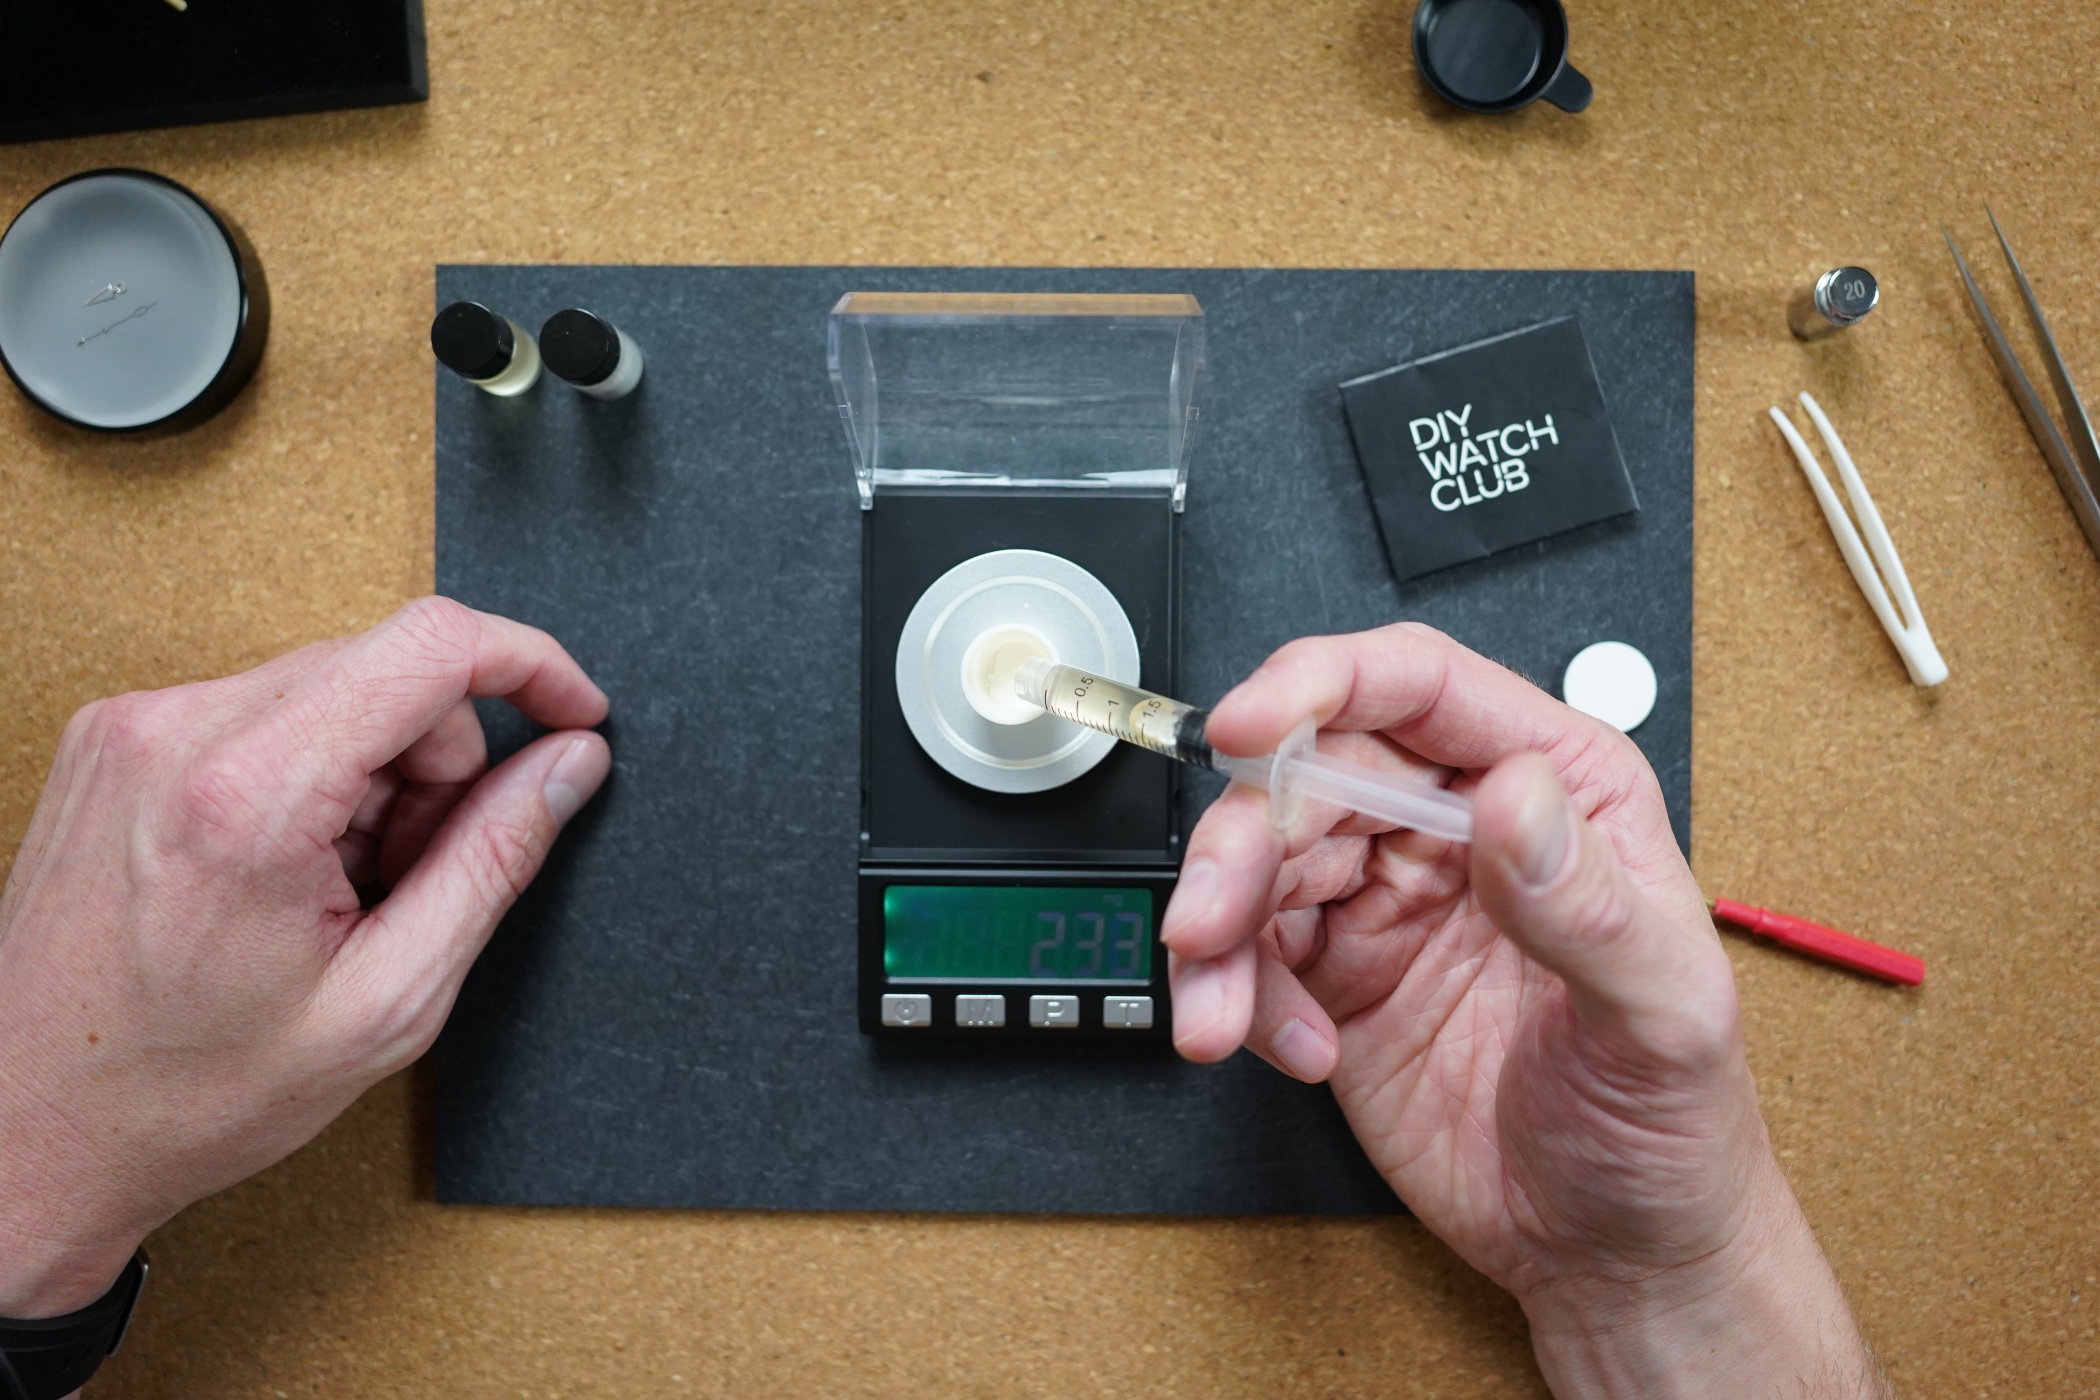
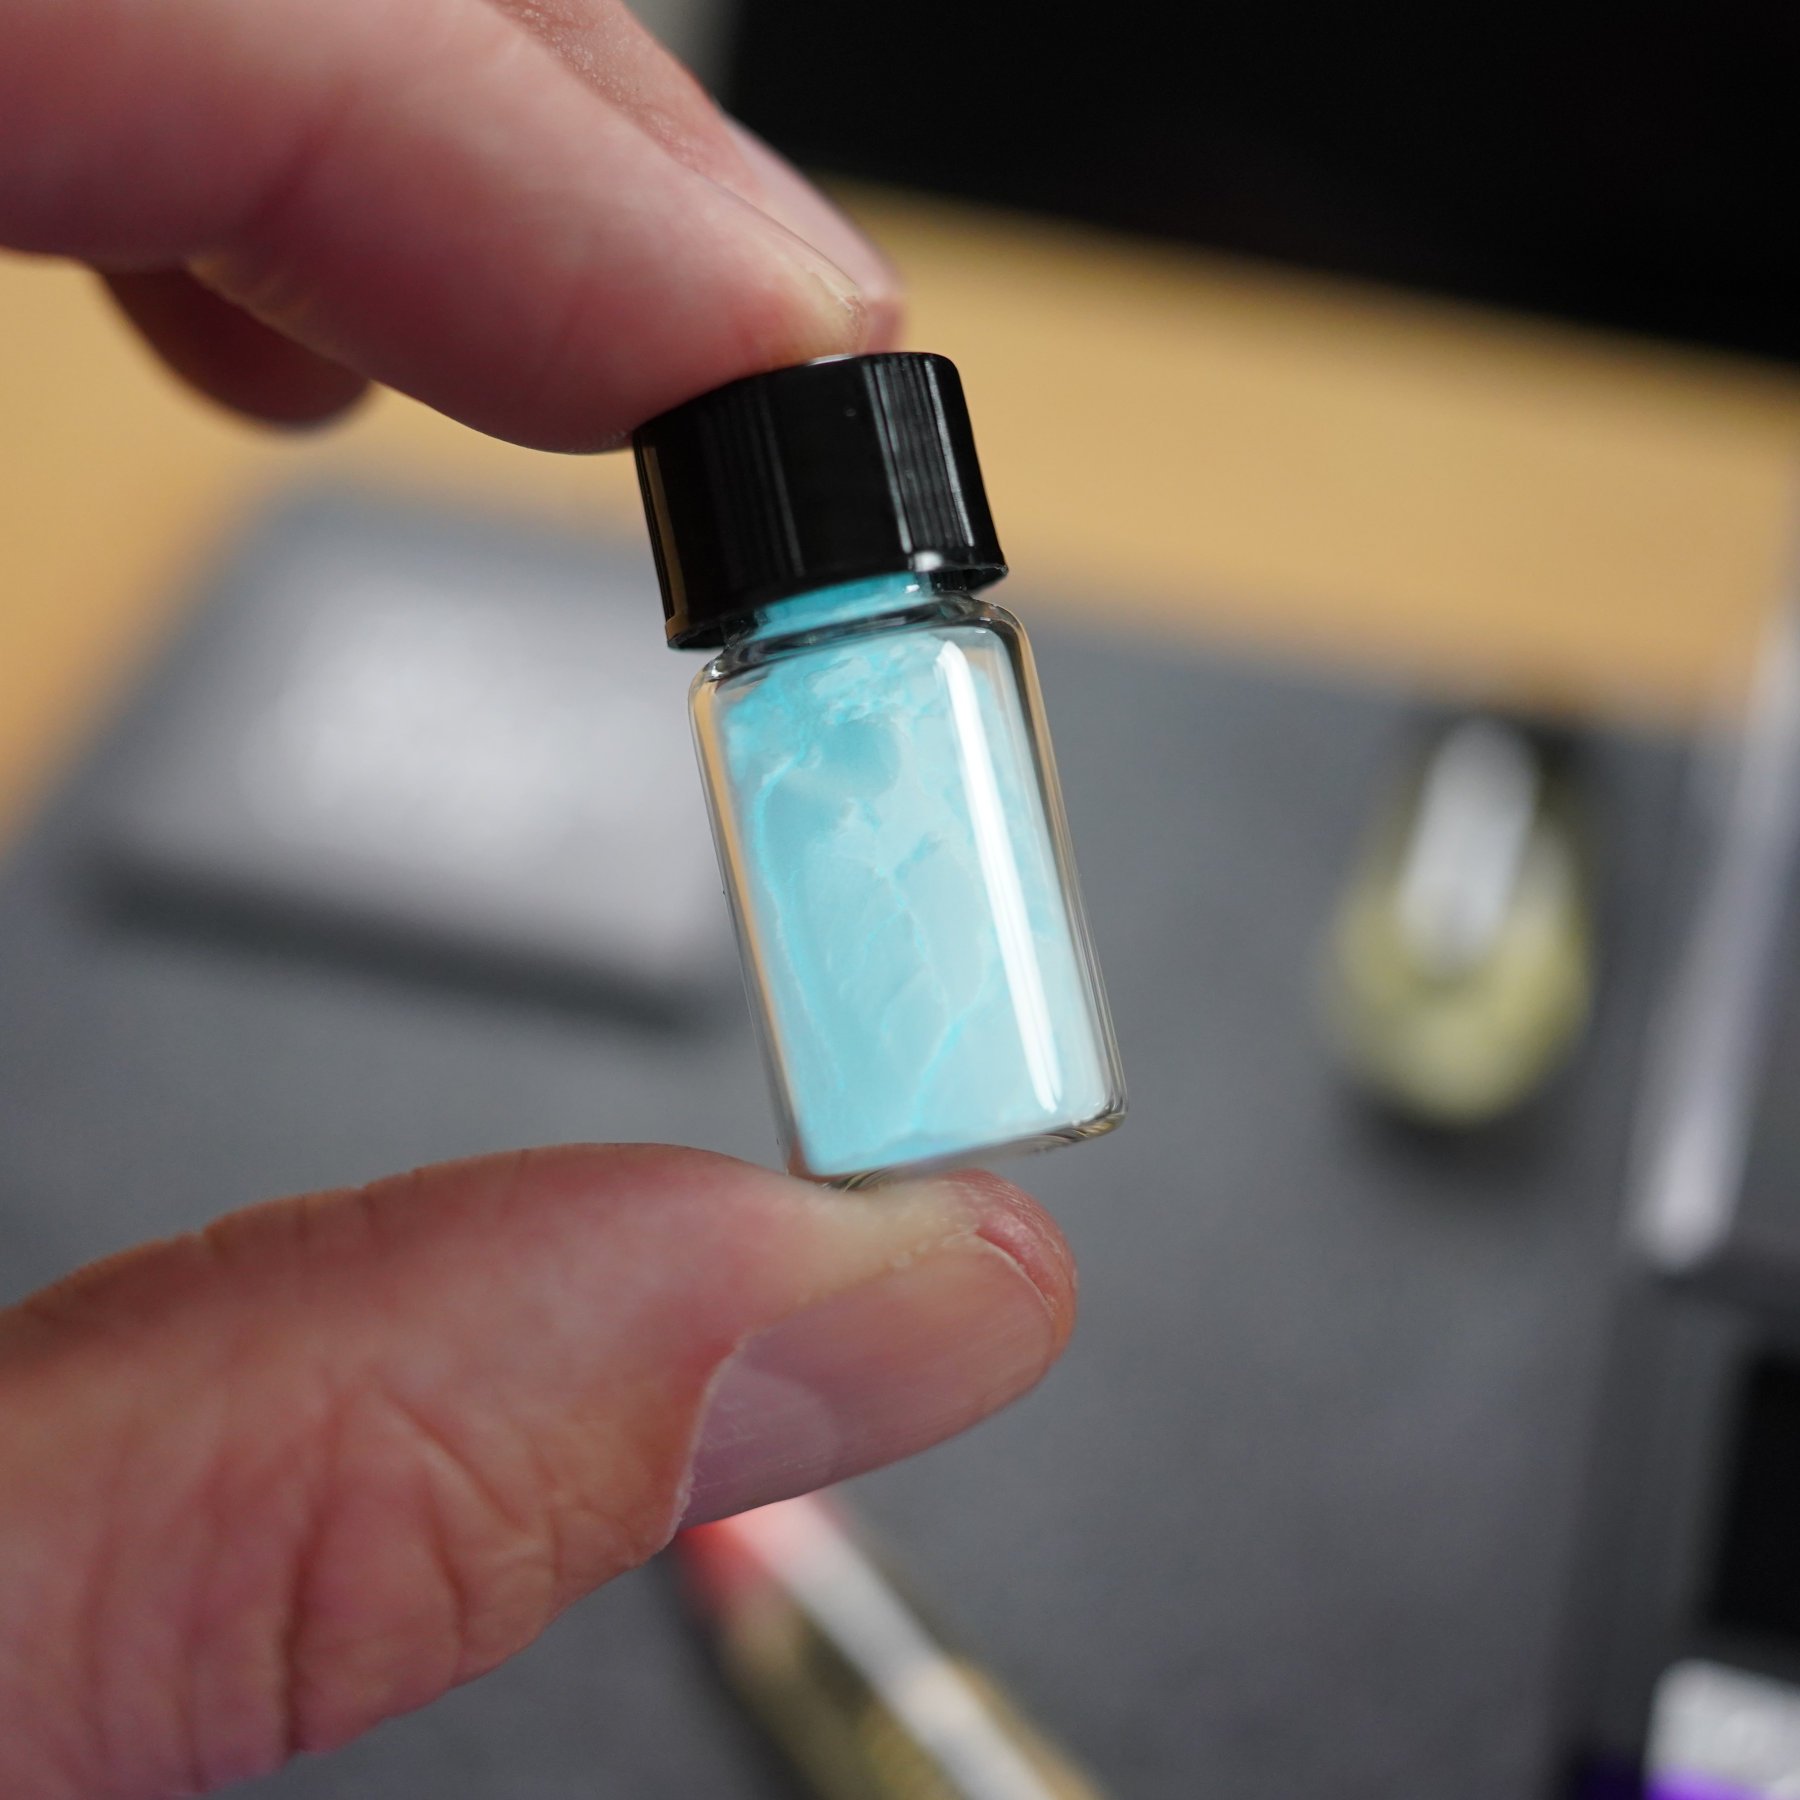
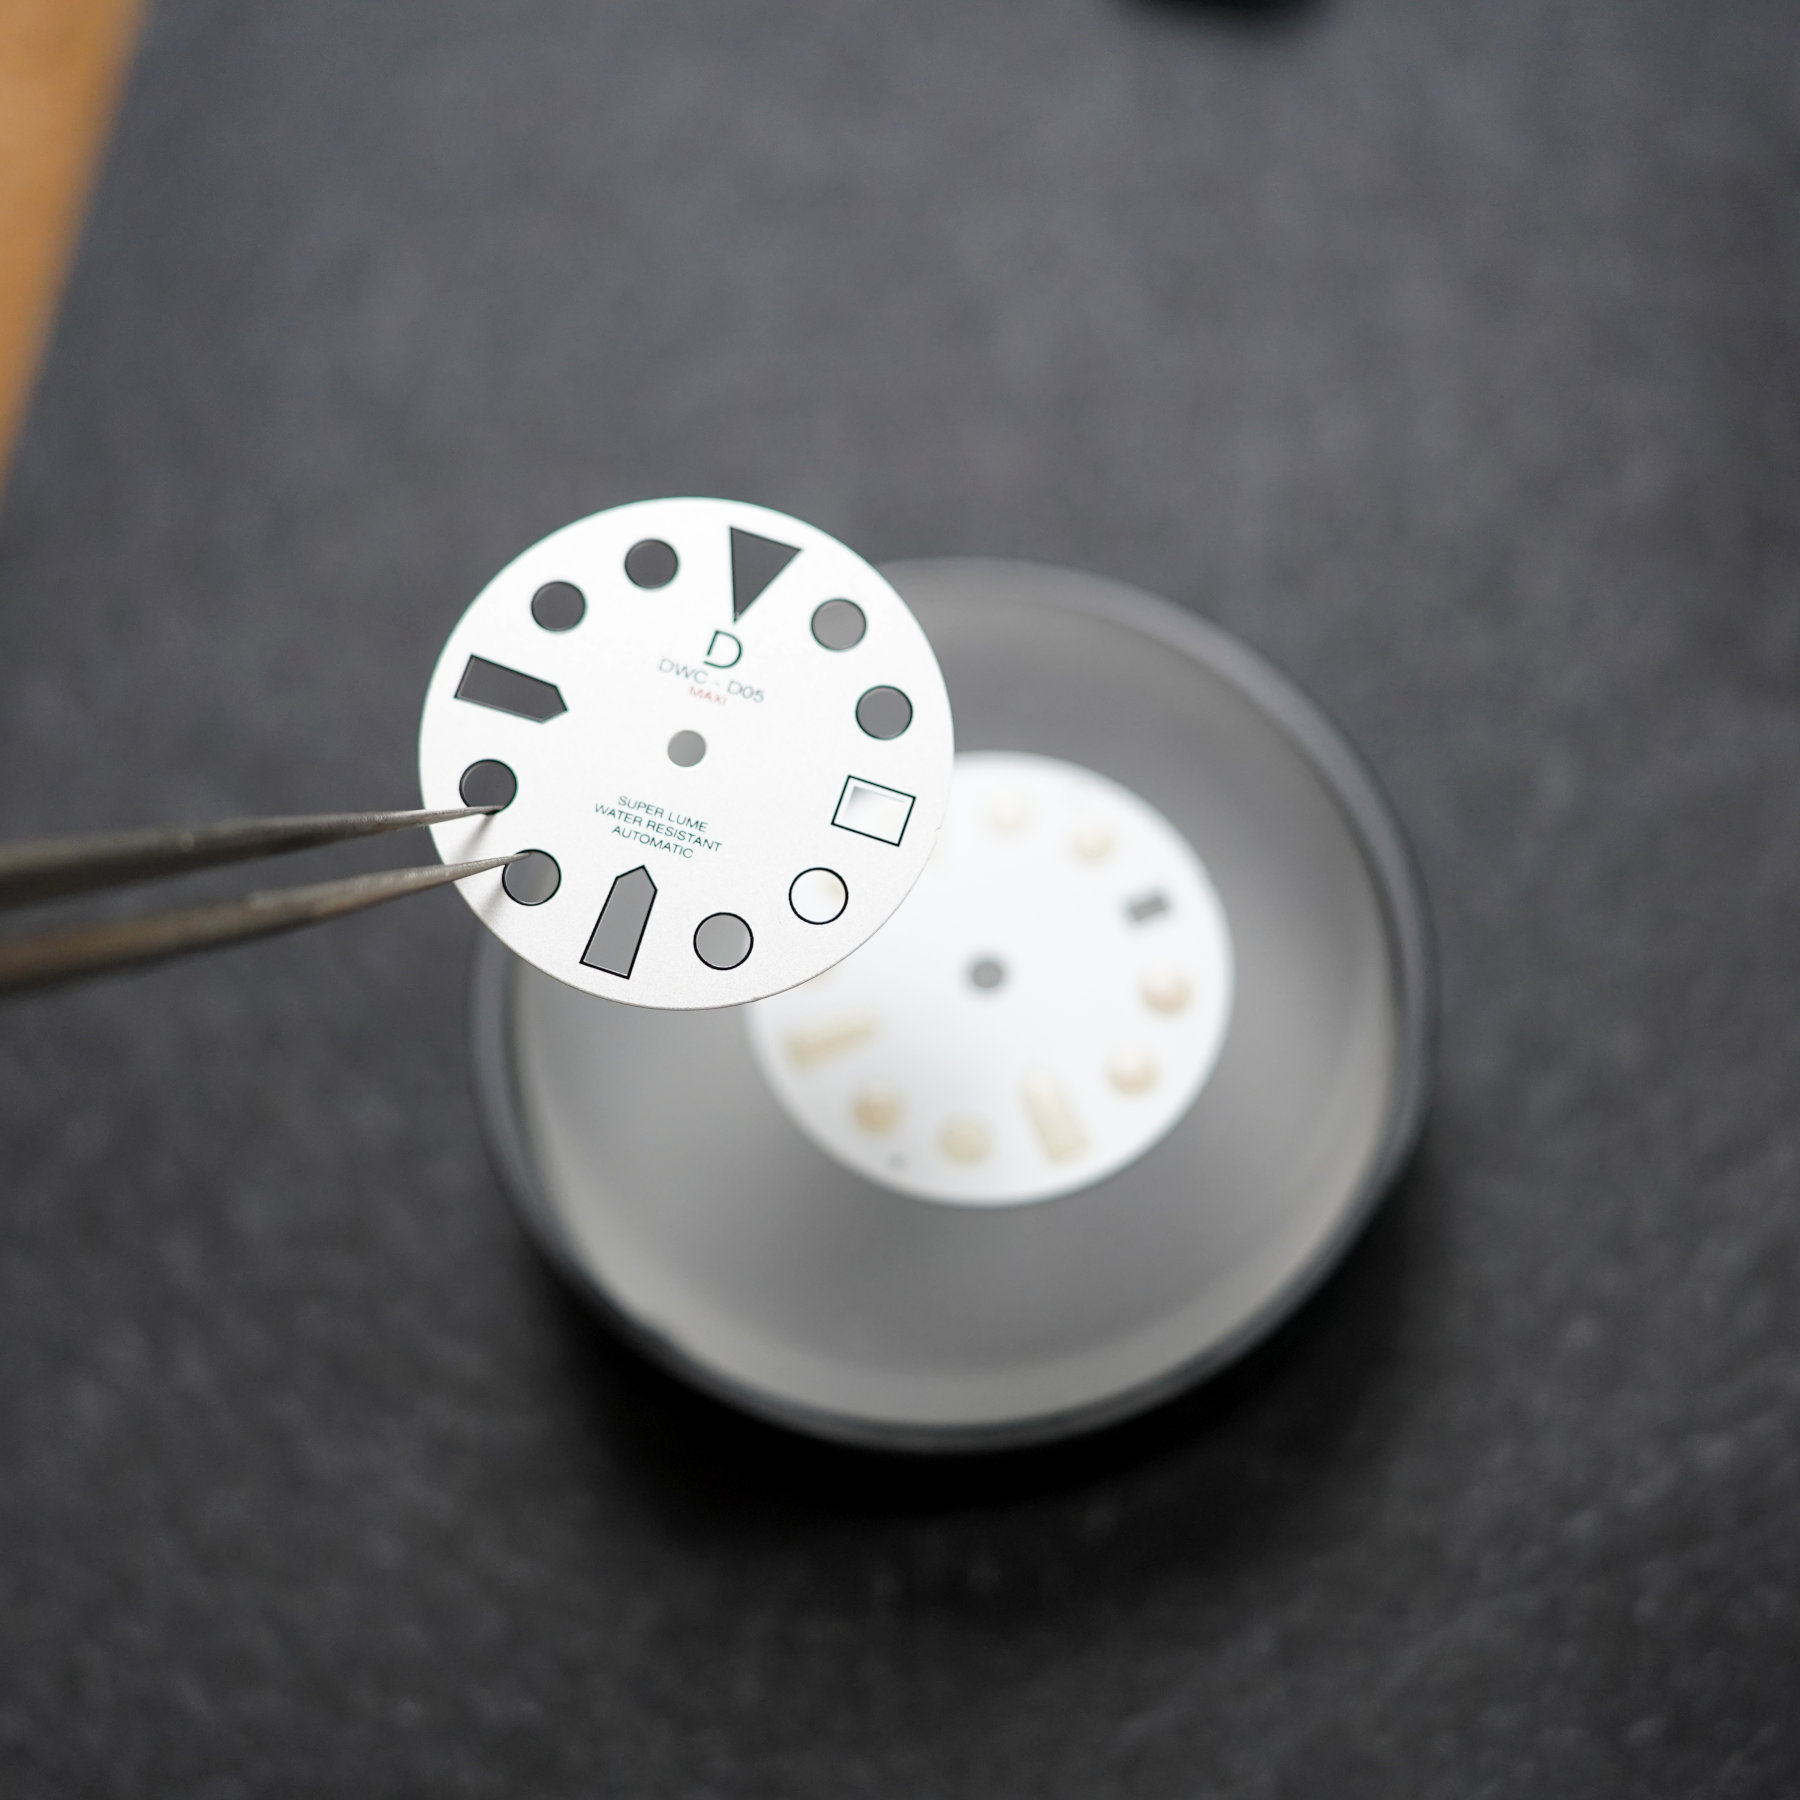
Excuse the blatantly obvious Walter White-inspired pun, but the lume kit is a completely different experience altogether. In the box is a scale, a small container of glowing powder (see the connection?!?), a syringe with a bonding agent, a small bottle of binder, a mixing dish, tools and the sandwich dial with two bottom layers and one top layer. Again, the extra bottom layer is in case you screw up, which is very likely to happen at the first crack.
For the luming itself, you have two options: using the pre-mixed bonding agent in the syringe or going full Breaking Bad and mixing your own with the small bottle of binder and paint thinner. DIY Watch Club talks you through what is needed for both and what the benefits are of each method. I went for the simpler solution since it sounded like the safer way of doing things when it’s your first time.
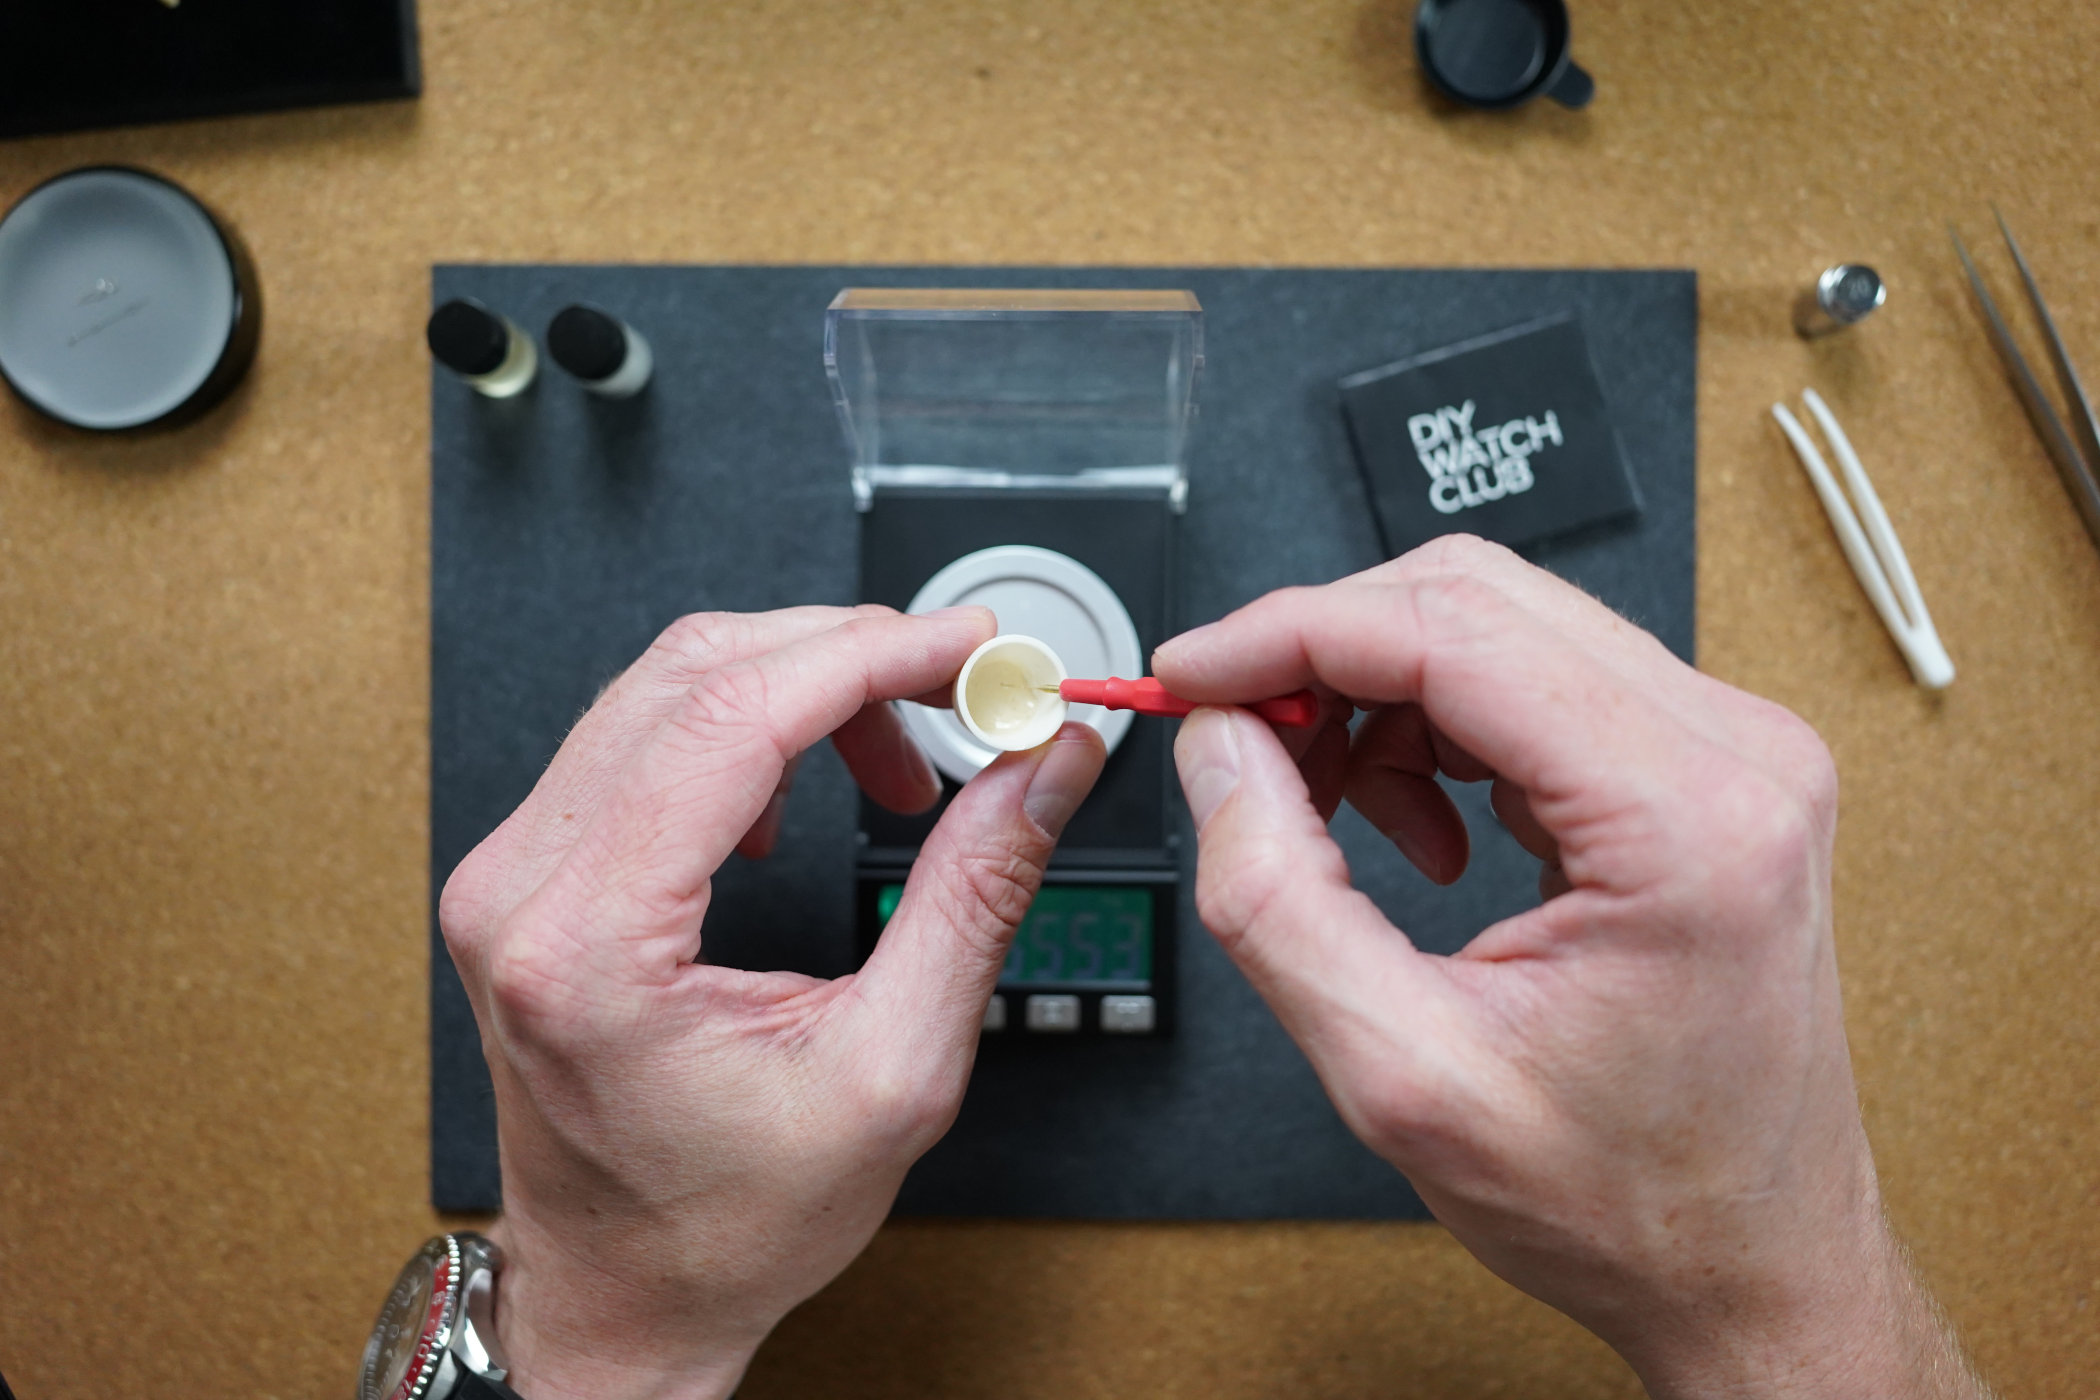
The measurements of the lume mix are very precise, so the scale is very much needed. Mix it incorrectly, and it can come out too runny, meaning it won’t hold, or too thick, meaning it won’t spread easily. Don’t mix too much at once, though, as the stuff starts drying out quite quickly, so working swiftly is of the essence.
Now, mixing isn’t the hardest part of the whole experience. That came next, as I was now ready to apply the lume to the hands. I thought it would be wise to try it on non-blued hands first to see how things go and have them ready as an escape if needed. The process relies on the surface tension of the luming mix, which you apply on one end of the hand and then draw across the area that needs to be filled. Far from easy to do and hugely frustrating! The result of my first attempt? A set of useless hands, ready for the trash! Nevertheless, I soldiered on and attempted a blued set of hands and applied what I learned from my trial run.
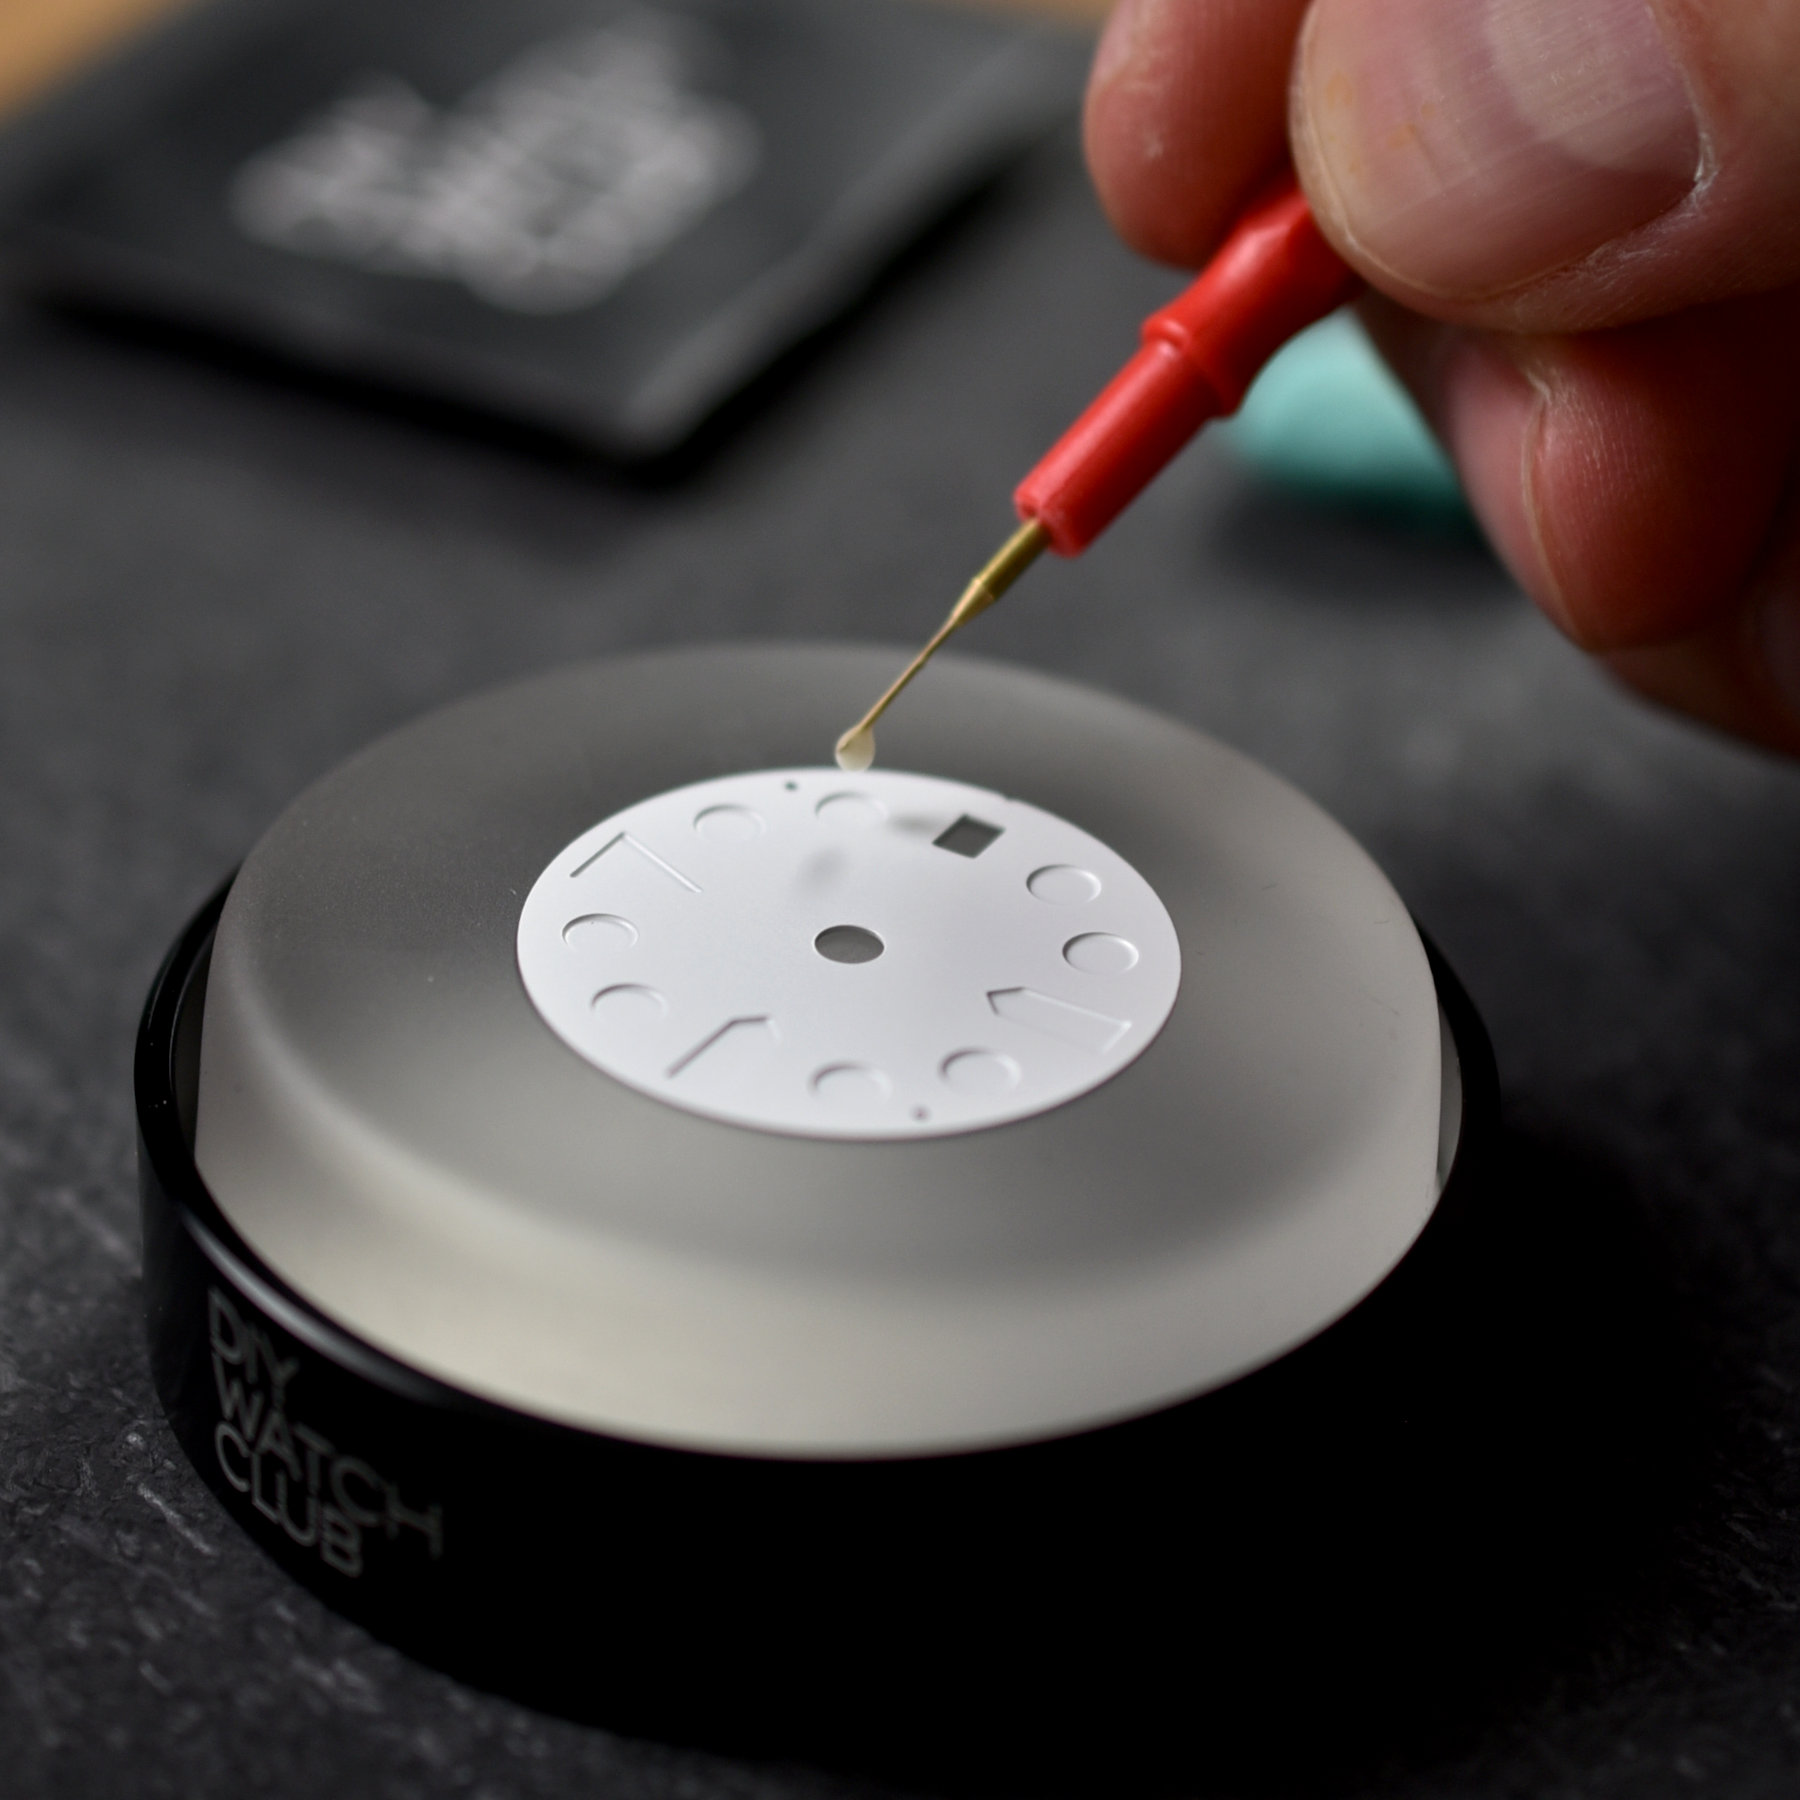
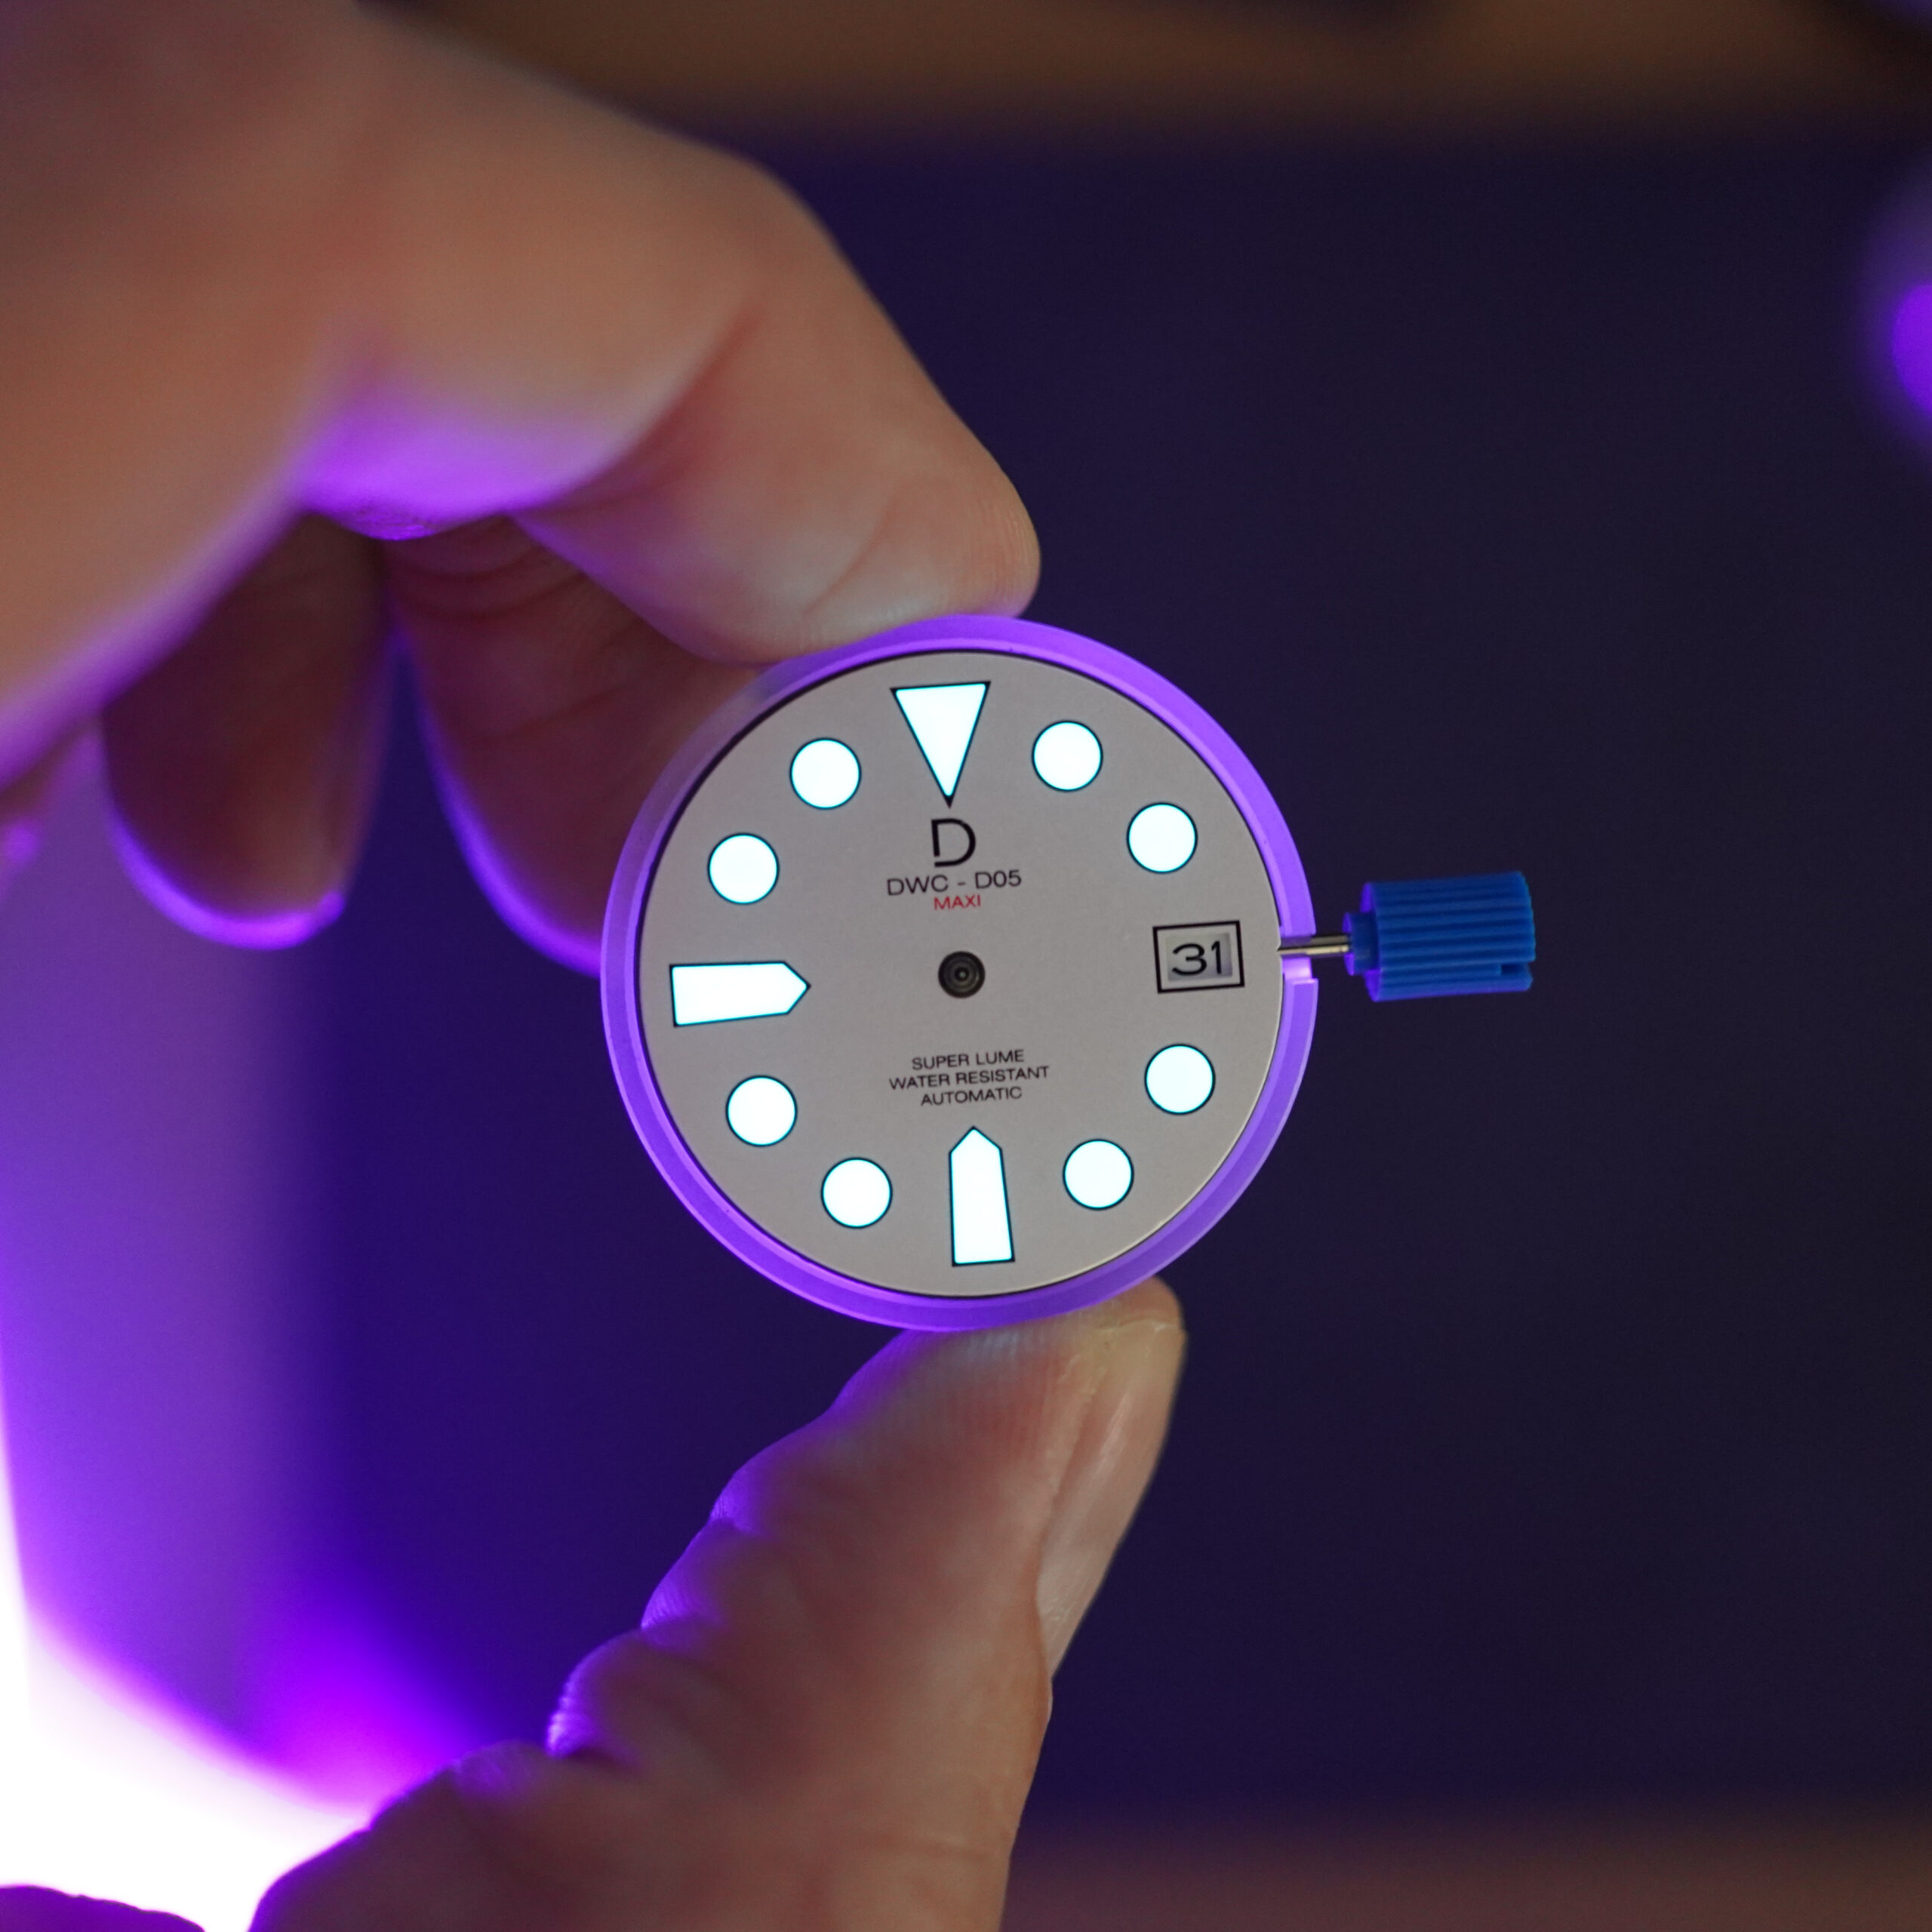
This time around, I was content with how it turned out, but you can’t be 100% sure until it has dried and cured for over 24 hours. Upon closer inspection, they’re not exactly perfect, and you can see some very small run-overs under a loupe. But, to me at least, they were good to go! A similar process is needed for the dial, where you apply the lume to the base layer. It takes some concentration to fill in the hour markers and this time around it’s a matter of applying the right amount of lume. Too little, which I did with my first try, and it doesn’t fill the entire marker hole when dry. Too much and you run the chance of the dial becoming too thick when sandwiched.
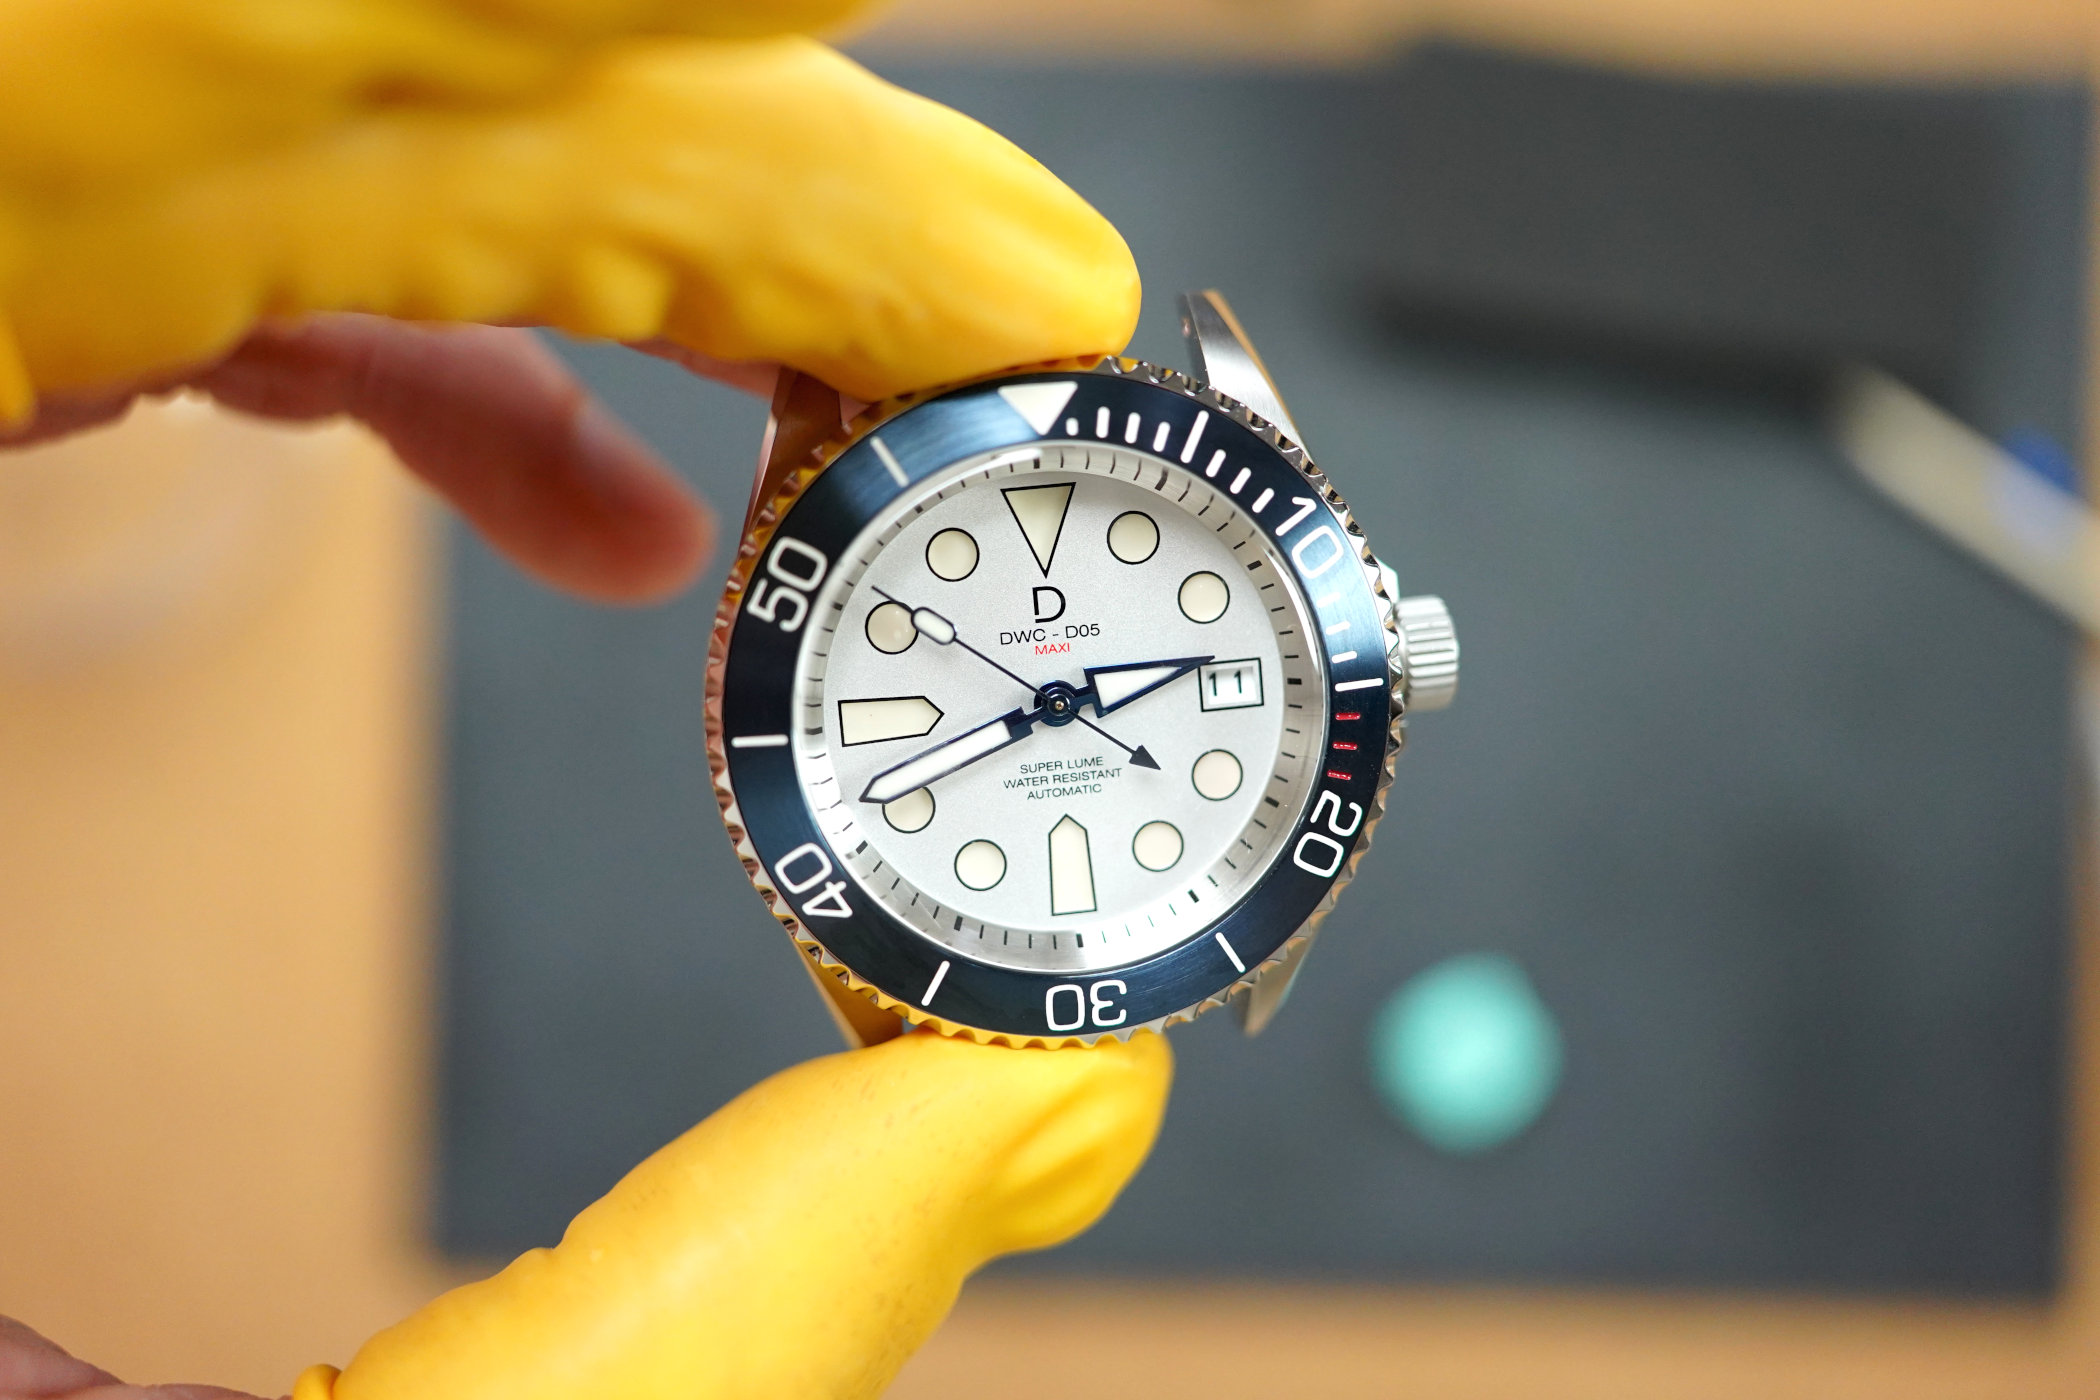
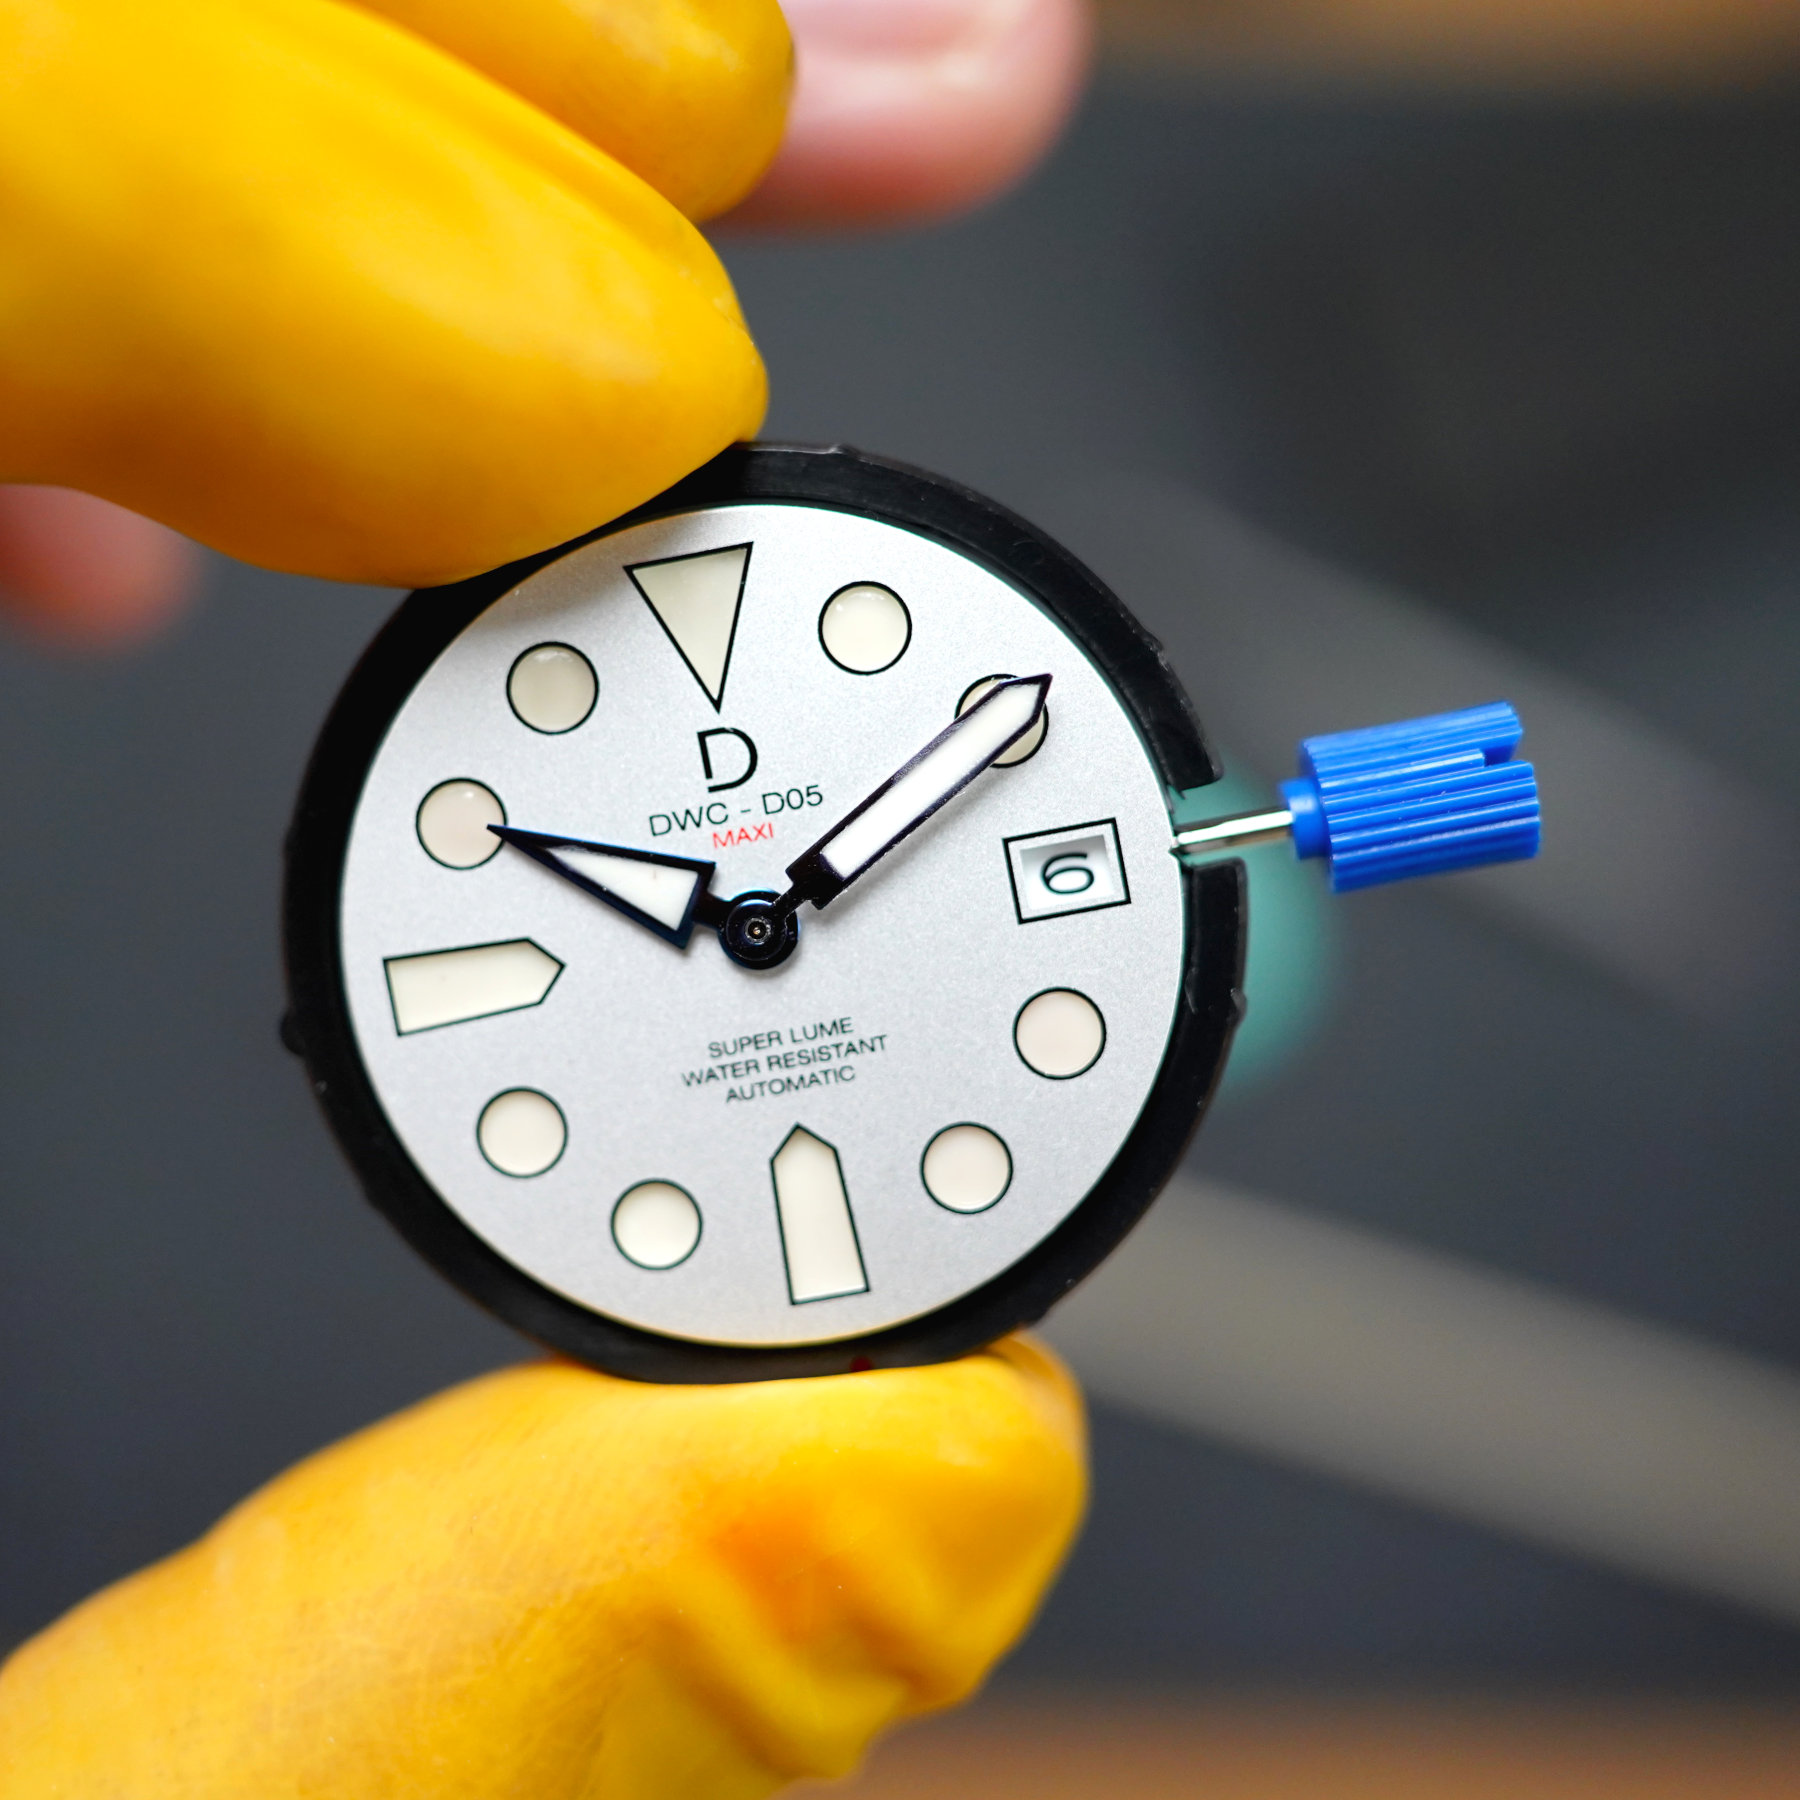
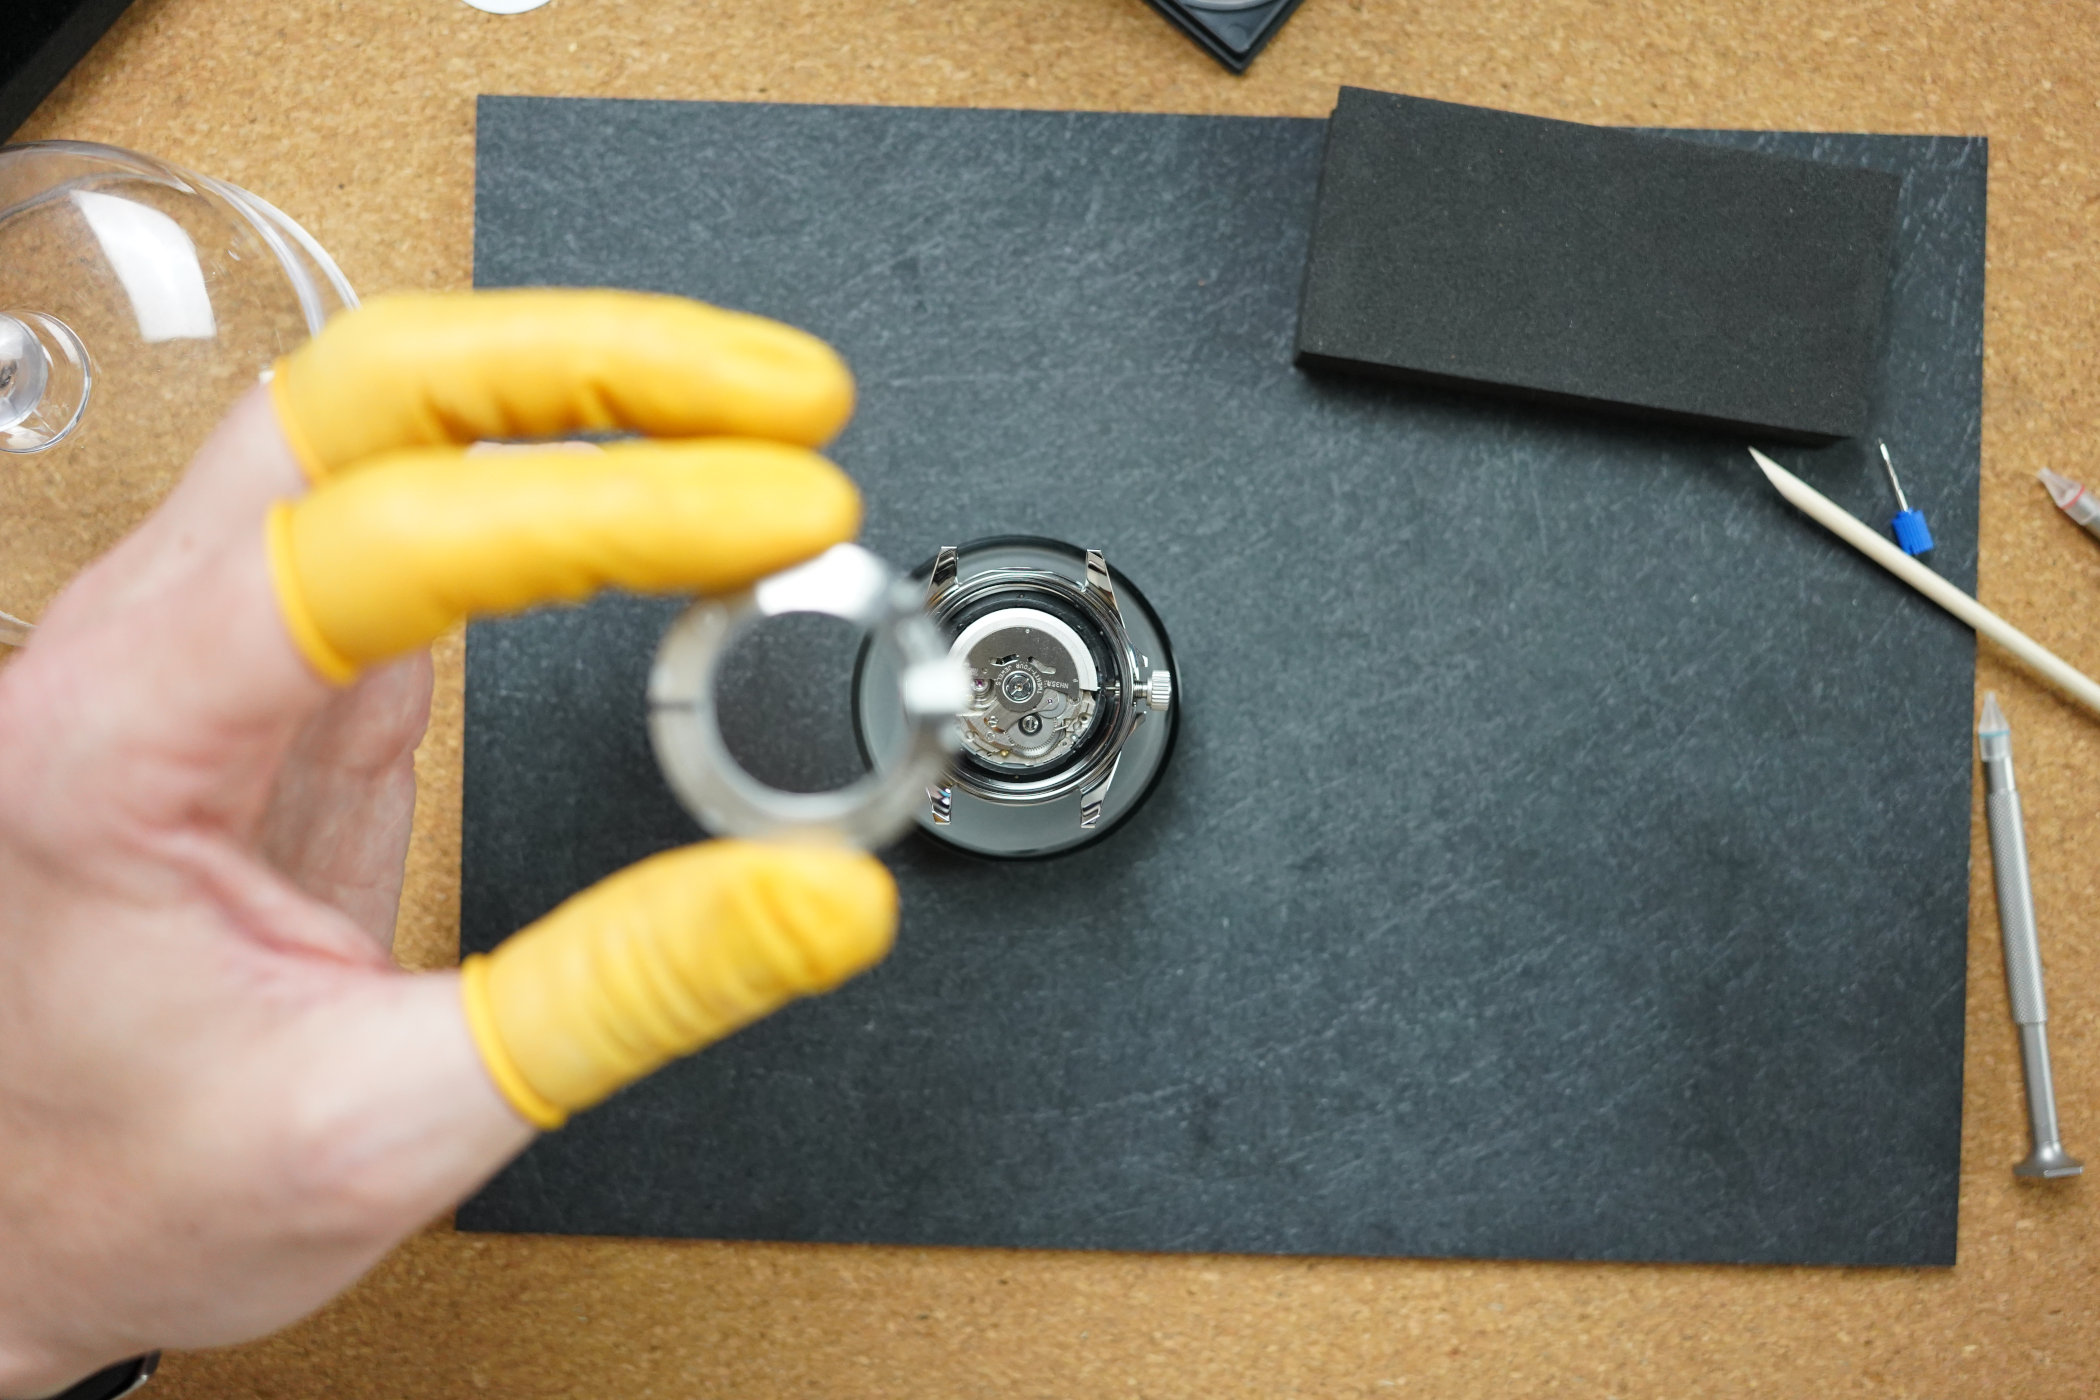
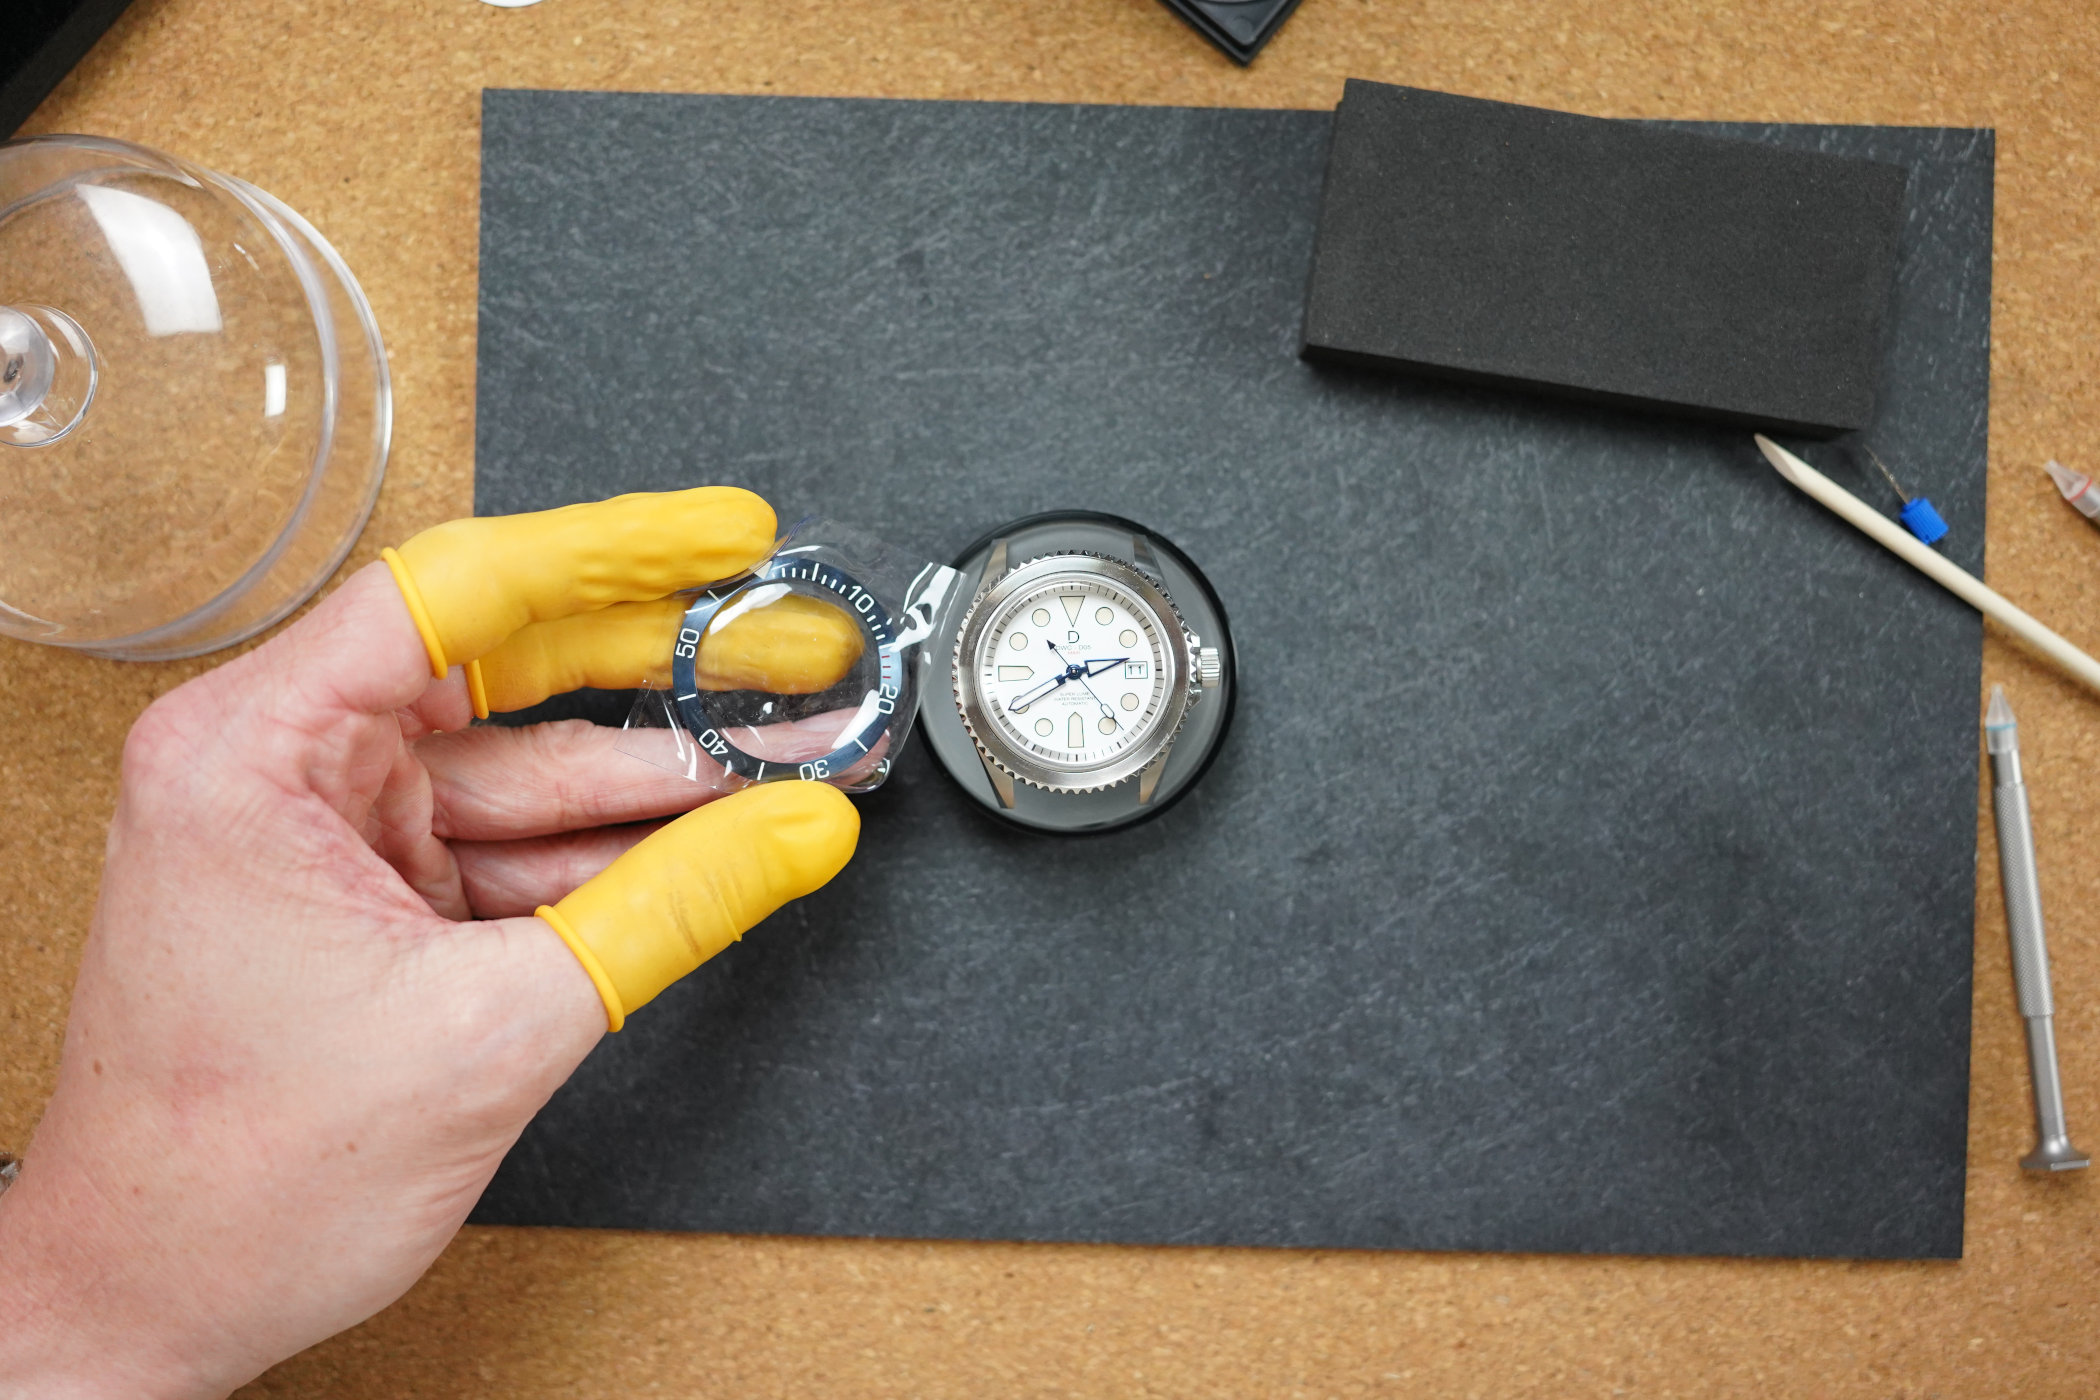
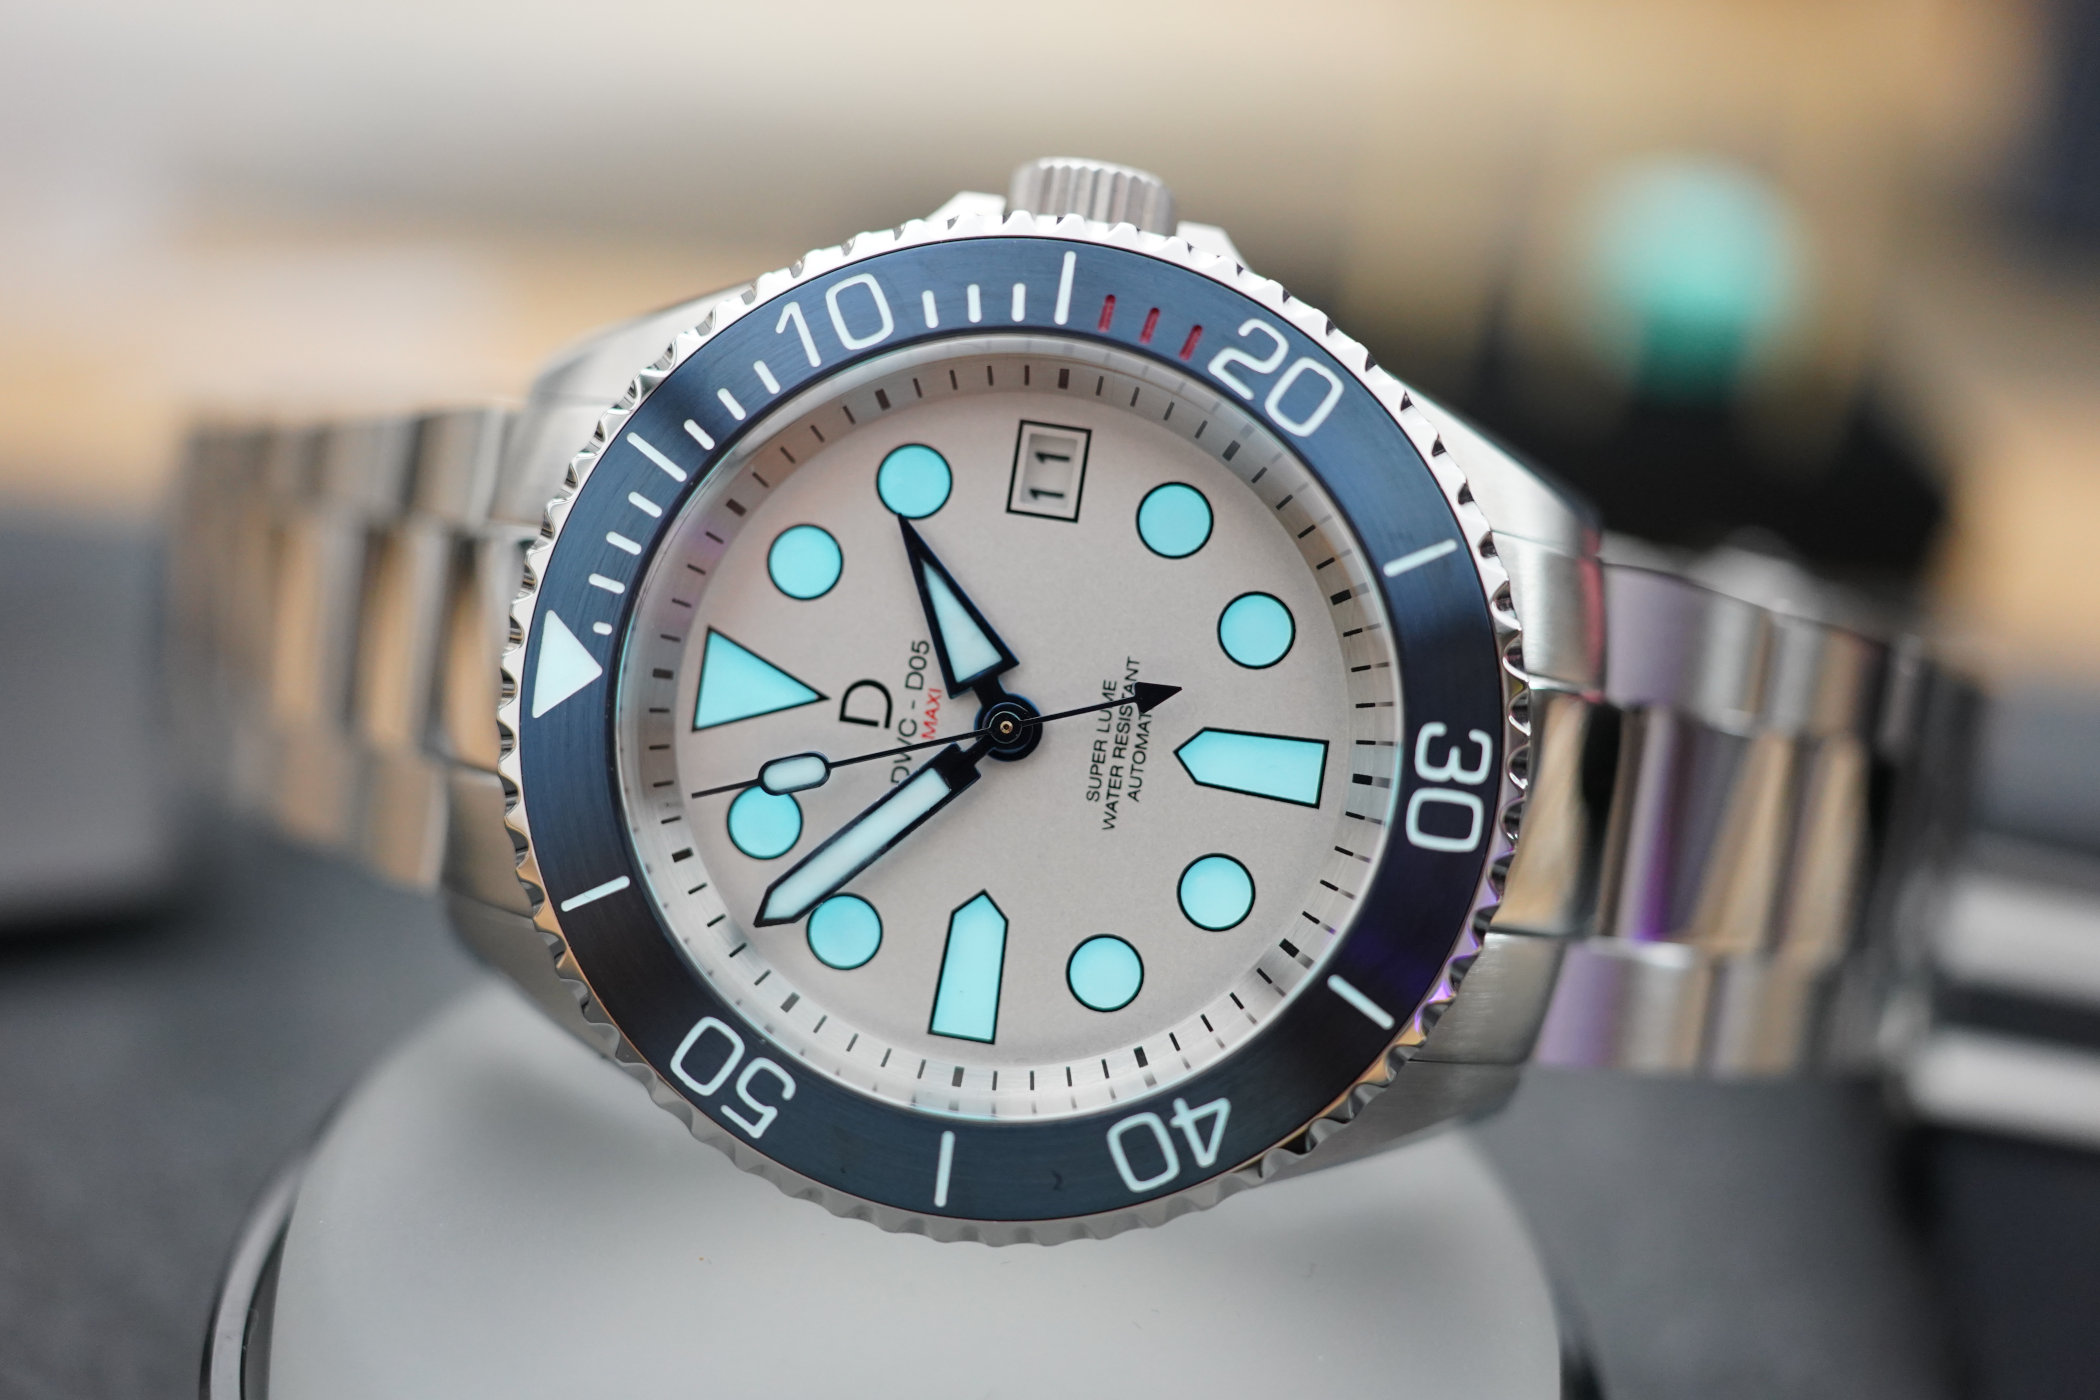
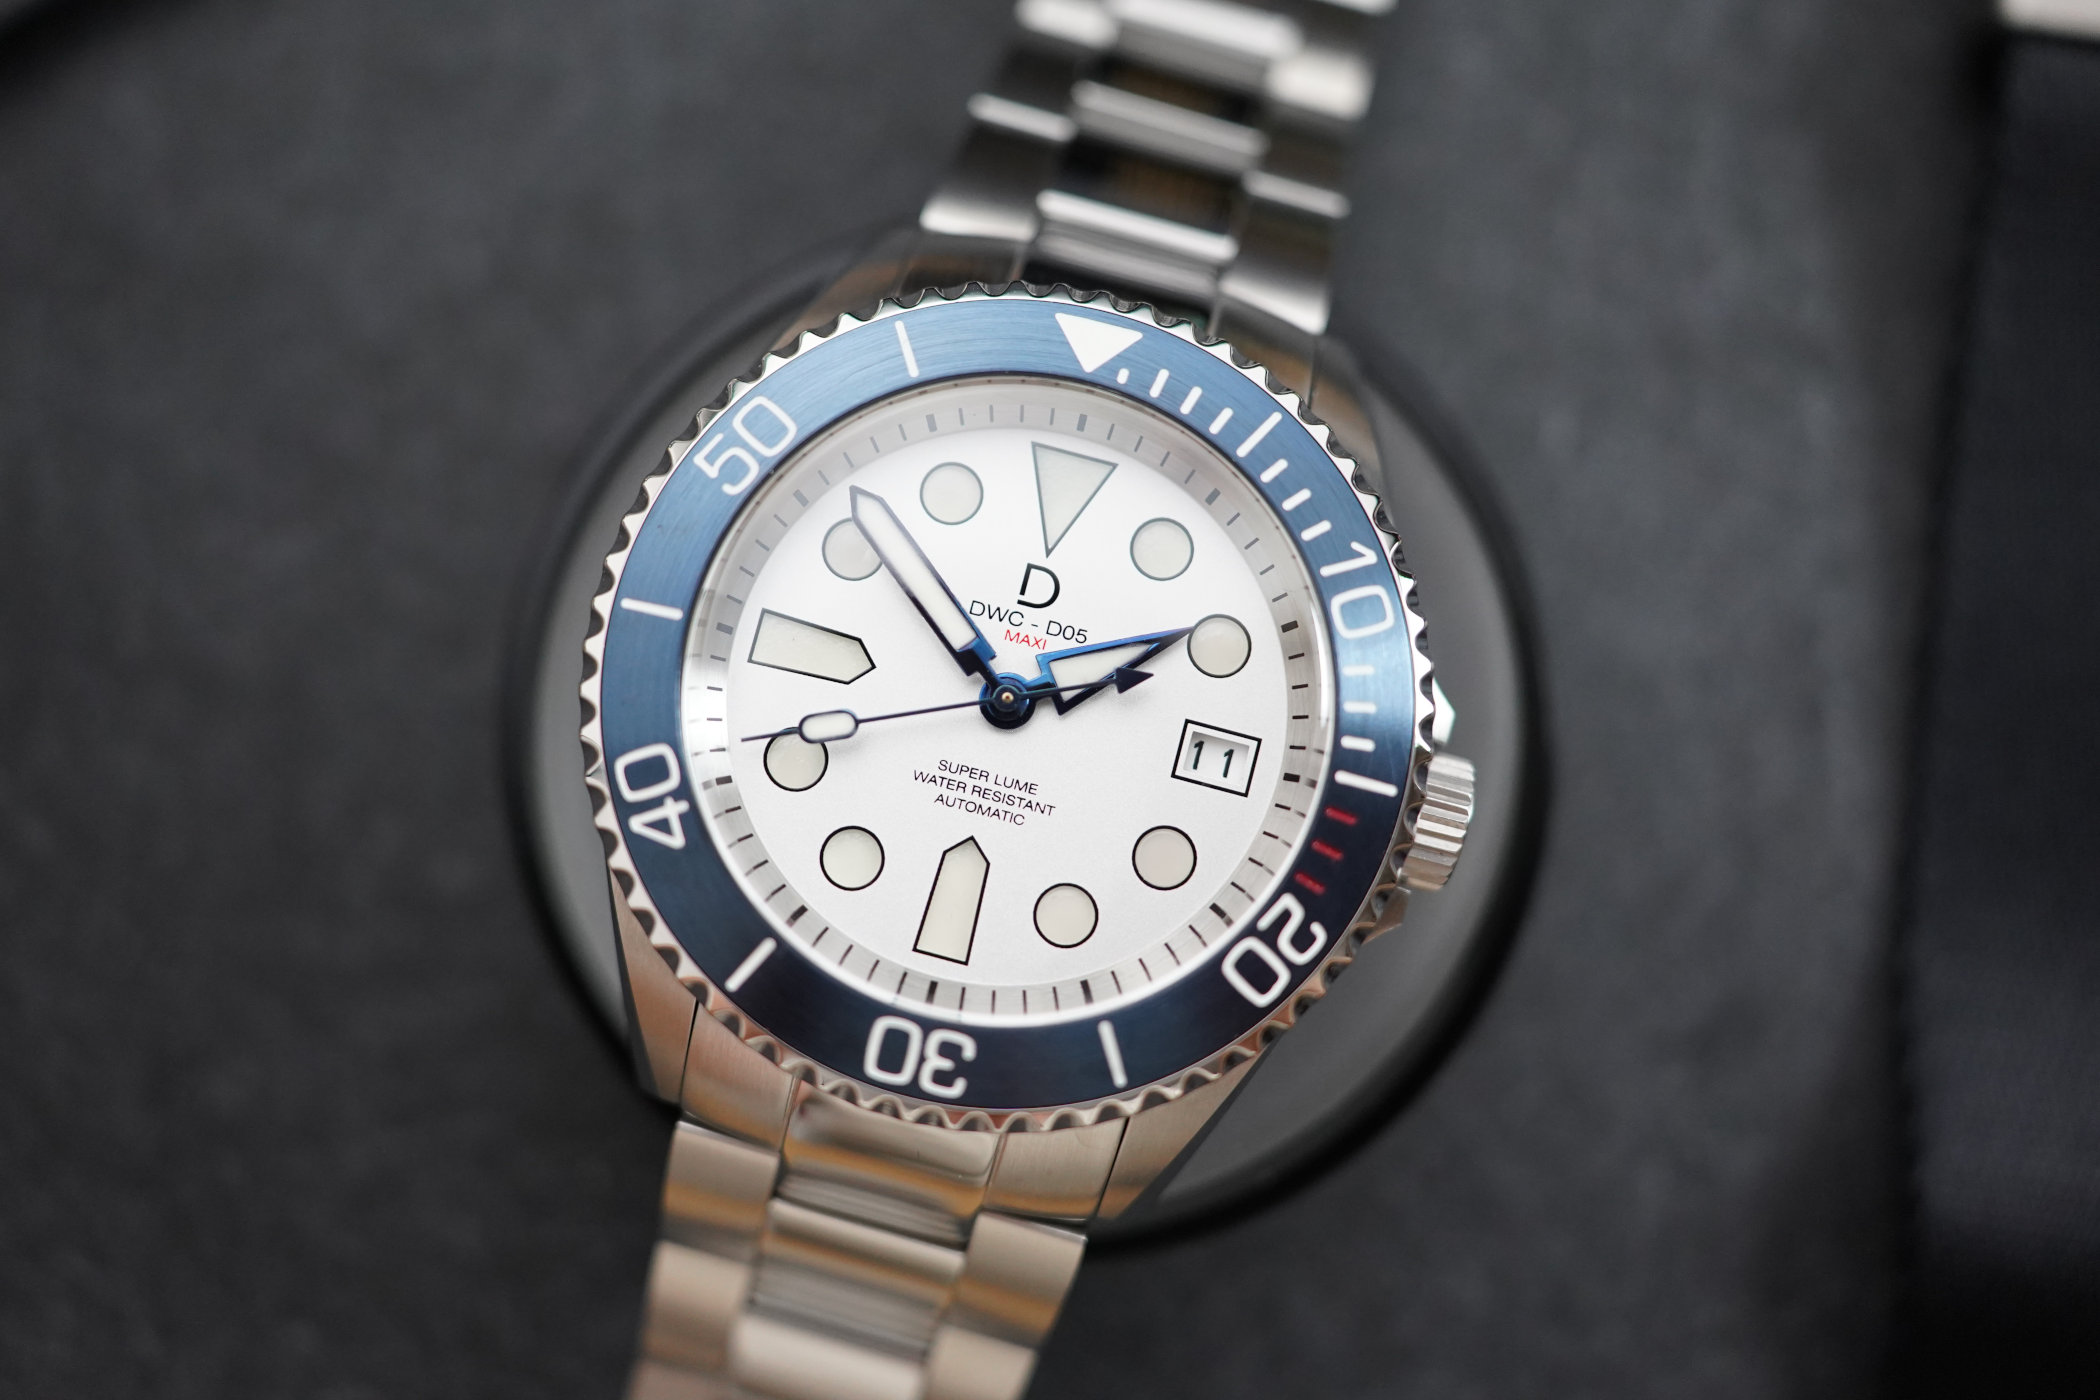
So, on to the assembly of the watch, which basically follows the same steps as the first DIY Watch Club build I attempted. This time, I opted for the time-and-date diver in a blue and silvery white colour scheme.
I’m quite happy with how it looks in the end and can recommend the experience to anyone who is looking to get more involved in his or her watches. It is a genuinely rewarding experience, even though it’s quite challenging. I highly recommend it to anyone who is thinking about getting more hands-on with watches.
Get stuck in, and build something you will remember for a very long time. And the imperfections? Well, I consider them my maker’s mark, my personal signature, if you will. You can check the full spec list of my watch down below, yet this is just one of many types of builds available.
Prices for the watch kits start at USD 210 and run up to USD 620, and there are tons of options to choose from. The bluing kit costs an additional USD 185, while the luming kit is priced at USD 190 (Japanese BGW9, dial & hands). Do be careful, though, as you can mix and match several kits, but not all are suited for the sandwich dial you see in my build. Take your time to go through them all and select what you need. And if you’re really confident, there’s even a tourbillon watch you can build!
For more information and to explore all the available options, please visit DIYWatch.Club.






3 responses
Much more interesting article than we’ve seen for some time. Depending on your choices you could end up with something unique.
That’s some serious effort into the preparation of this article. Thanks Robin. And seems like your hard work paid off! That’s a lot of lume in that watch 🙂
Interesting! Seem like a holiday activity, huh, I go someone in my mind, he is a watch lover, might be a good gift.